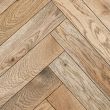
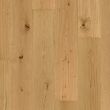
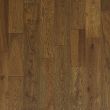
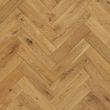
Find Samples
To add to your samples basket, simply navigate to a product you're interested in, select the colour you like and press the + icon on an empty sample slot.
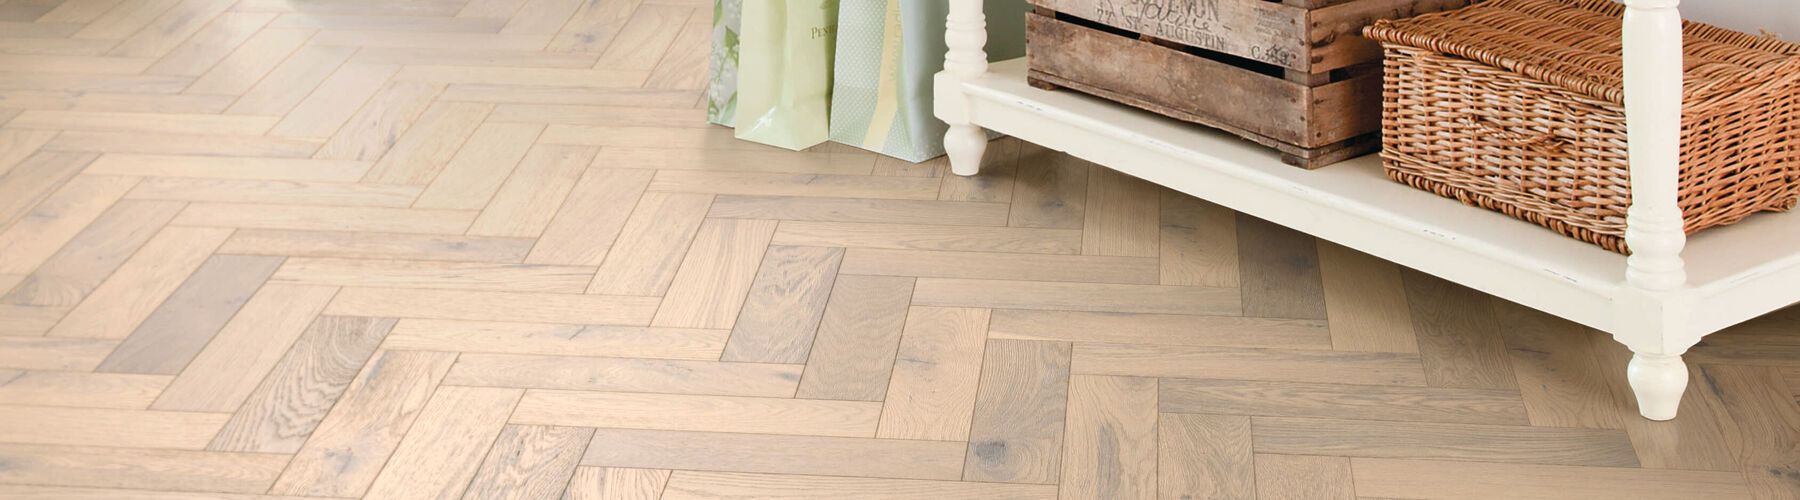
Known for its timeless appeal and versatility, oak engineered wood flooring offers all the advantages of genuine hardwood flooring at a fraction of the cost. However, when it comes to laying engineered wood flooring, it’s one of the trickier flooring types to install and requires a lot of skill and experience.
After investing in new engineered wood flooring, we’d always recommend booking professional fitters to ensure your floors are fitted perfectly. That said, if you already have extensive DIY flooring experience and want to upskill, then perhaps fitting engineered wood flooring could be your next challenge!
With the help of our flooring experts, we’ve pulled together a guide on engineered wood flooring installation. From preparation to the all-important finishing touches, find out how to install engineered wood flooring with the right tools and steps.
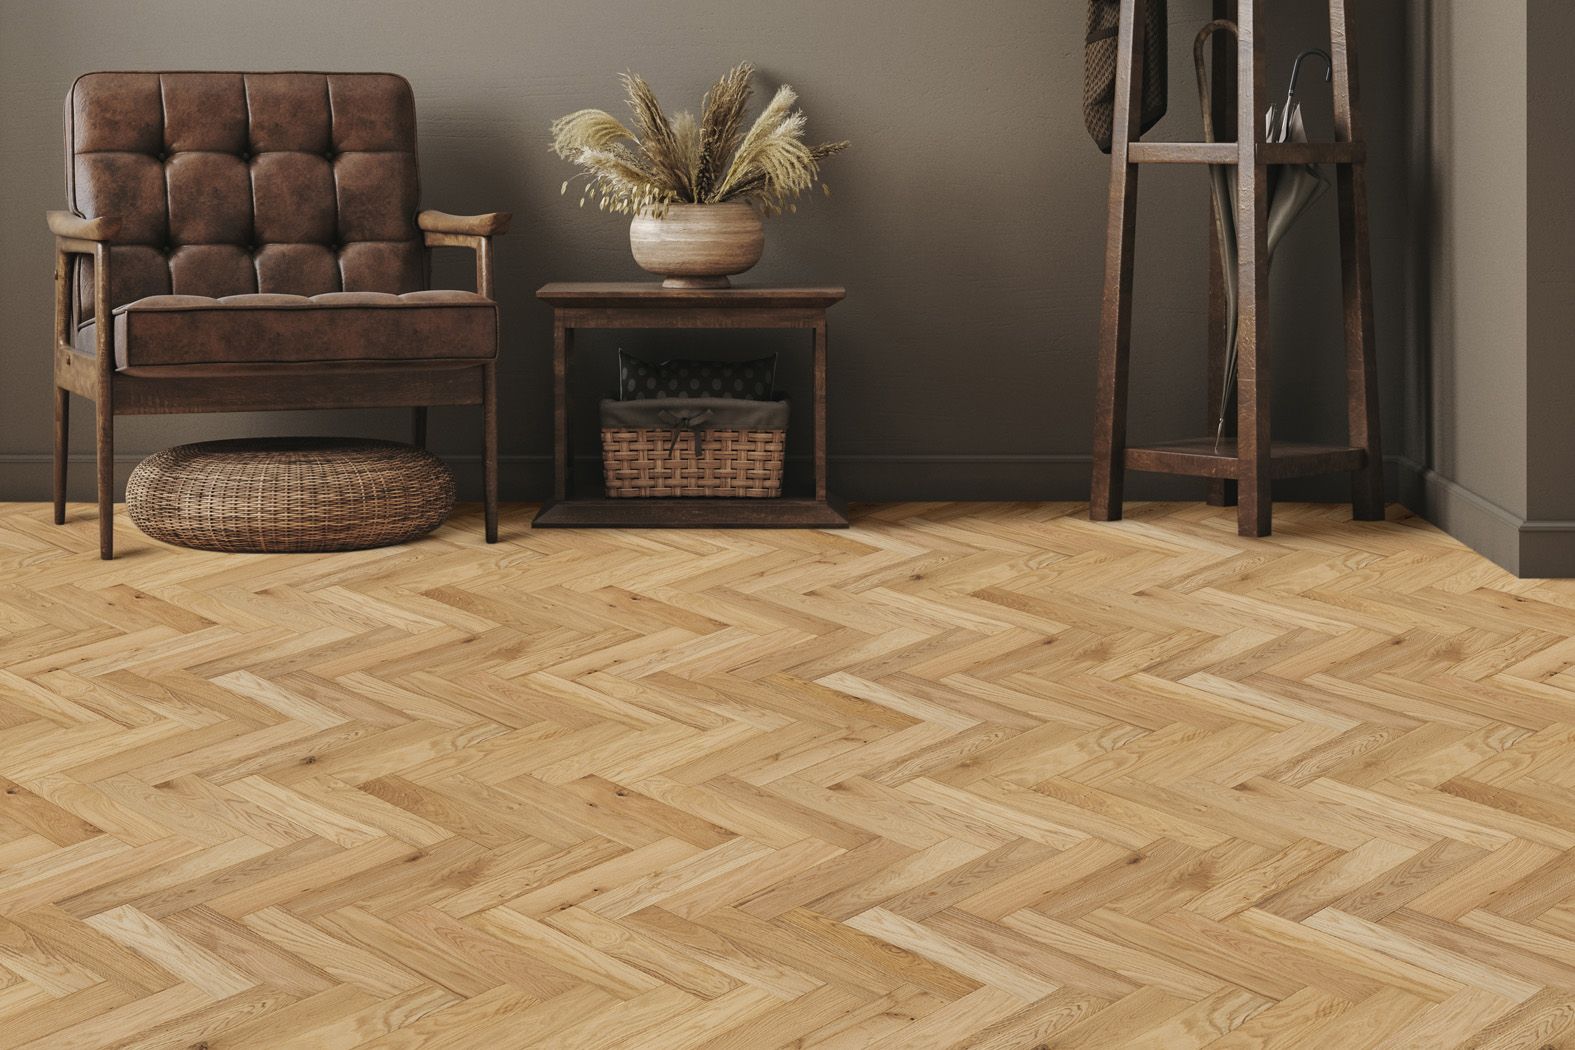
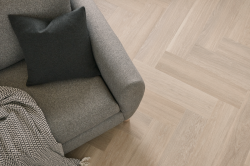
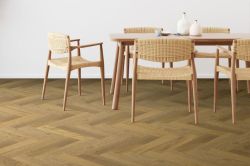
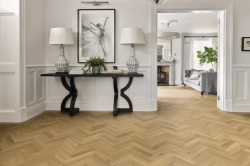
Engineered wood can be installed using several methods, depending on the product, the room size, and the laying pattern. For smaller rooms, it can be installed as a floating floor, whereas if you’re fitting it in bigger areas or using herringbone planks, the flooring needs to be fully stuck or nailed down for extra stability.
Before starting any flooring installation, always read the manufacturer’s fitting instructions thoroughly. We have tongue-and-groove engineered wood and click engineered wood available at Tapi, so check which installation method your planks have. Click installation is the easier to fit of the two.
Before you begin laying your engineered wood, you need to prepare the subfloor. If your subfloor is concrete or screed, a liquid damp-proof membrane (DPM) might be needed. If you’re going for a fully stuck engineered wood floor, then you’ll need to apply a smoothing compound first.
Remember that wood is a natural product, and there’s likely to be some variation in colour and grain between planks. While this variation makes your floor unique, check the boards for characteristics you might wish to place in less prominent positions. It’s important to order a little extra flooring to ensure you have enough planks if you don’t like some of the bolder natural characteristics of engineered wood.
Tapi Top Tip: Some boards may have larger knots so these may be better located at the edge of a room rather than in the centre.
Here’s our step-by-step guide on how to lay engineered wood flooring:
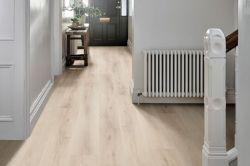
Tapi Top Tip: Engineered wood flooring looks best when it’s laid parallel to light entering the room, which brings out the characteristics of the grain.
Tapi Top Tip: We don’t recommend using planks shorter than 300mm at the end of any row. You should also try to avoid two header joints being within 300mm of each other.
You’ll need the following tools for laying engineered wood flooring:
|
Pencil |
Floor tensioners or ratchet straps |
Underlay (for floating installations) |
|
Square or sliding square |
Adjustable spacers |
PVA glue (for floating tongue & groove installations) |
|
Measuring tape |
Moisture meter aka hygrometer |
Suitable adhesive (for stick down installations) |
|
2m long spirit level |
Electric multi tool or wood chisel |
Suitable nails & nail gun (for secret-nailing installations) |
|
Flooring pull bars |
Hand saw or electric saw |
Sponge or cloth (for stick down installations) |
|
Rubber mallet |
Mitre saw |
Dustpan & brush |
|
Tapping block |
Jigsaw |
Vacuum cleaner |
If you don’t have any of these things, you can usually find them at any DIY or hardware store, or you might be able to rent them from a tool merchant. Alternatively, we can help connect you with expert independent fitters who can take care of everything for you.
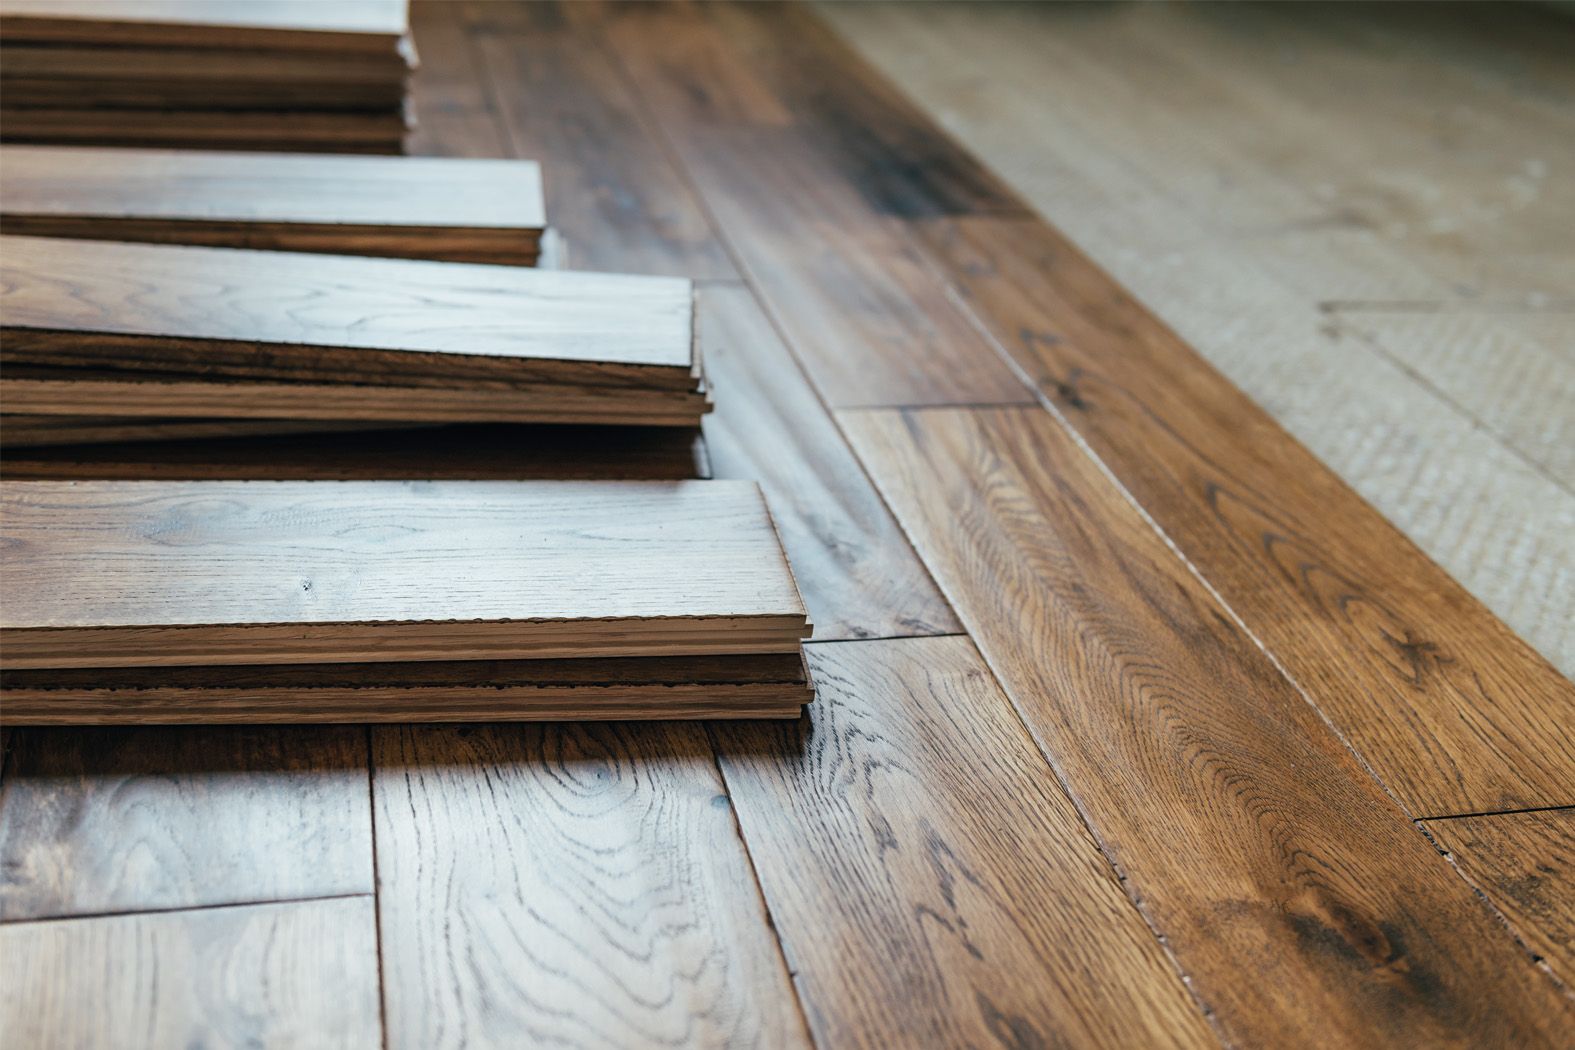
As the saying goes, “fail to prepare, prepare to fail”. This is very true when it comes to fitting engineered wood flooring, as there are several steps to take before you even lay the first plank. It’s important not to skip these as it can affect the overall outcome, and in extreme circumstances even lead to your brand-new engineered wood floor cracking or splitting:
Now that you know exactly how to install engineered flooring, follow on for tips for how to finish up your installation.
Tapi Top Tip: Protect your floor by applying felt pads to the underside of your furniture and entrance matting where necessary.
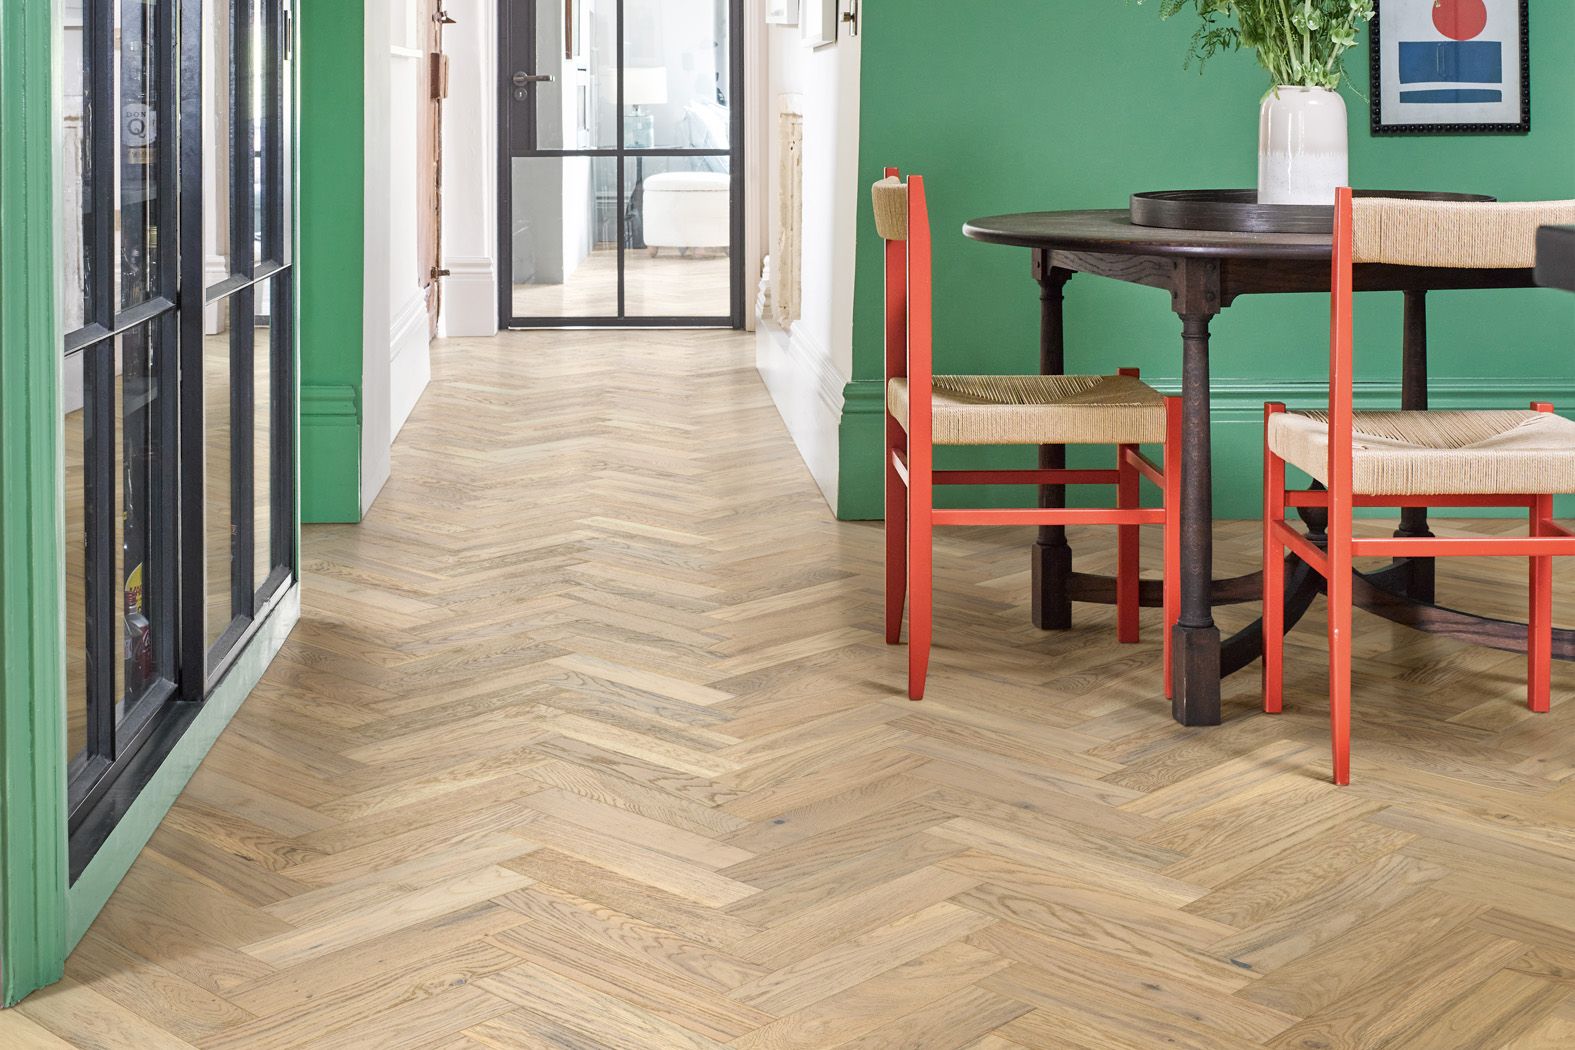
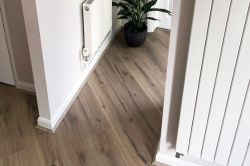
Taking the time to properly fit your flooring around door frames will result in a much better finish. Here’s how to lay an engineered wood floor around door frames while creating a seamless look:
Engineered wood floor is compatible with underfloor heating (UFH) systems, but you need to pay attention to the thickness of the plank. Thick flooring makes it harder for the heat to get through. You also need to check the type of underfloor heating – is it electric or water-based?
In all circumstances, we recommend checking the manufacturer’s information for the selected engineered wood flooring and the UFH system for further guidance. You may find that further subfloor prep needs to be done, such as applying additional smoothing compound to ensure the UFH system is fully encased.
Some key things to remember:
What’s most important is that the UFH system has been tested thoroughly (approx. 3 weeks) before your engineered wood floor installation and should be turned off before the fitting begins. And it goes without saying (but we’ll mention it anyway): do not nail down any planks as you’re likely to burst a pipe and cause some serious damage! Stick to glue down or floating installations for rooms with underfloor heating.

There are three main ways to install engineered wood flooring: floating, glue down, and secret-nailing. The best method depends on the type of engineered wood flooring you’ve chosen, the subfloor, and the size and shape of your room. Here’s a look at the different methods:
If you’re unsure which installation method is right for your space, check the manufacturer’s instructions and speak to a professional fitter.
Before you dive into installation, it’s worth knowing some of the most common mistakes to look out for when laying engineered wood.
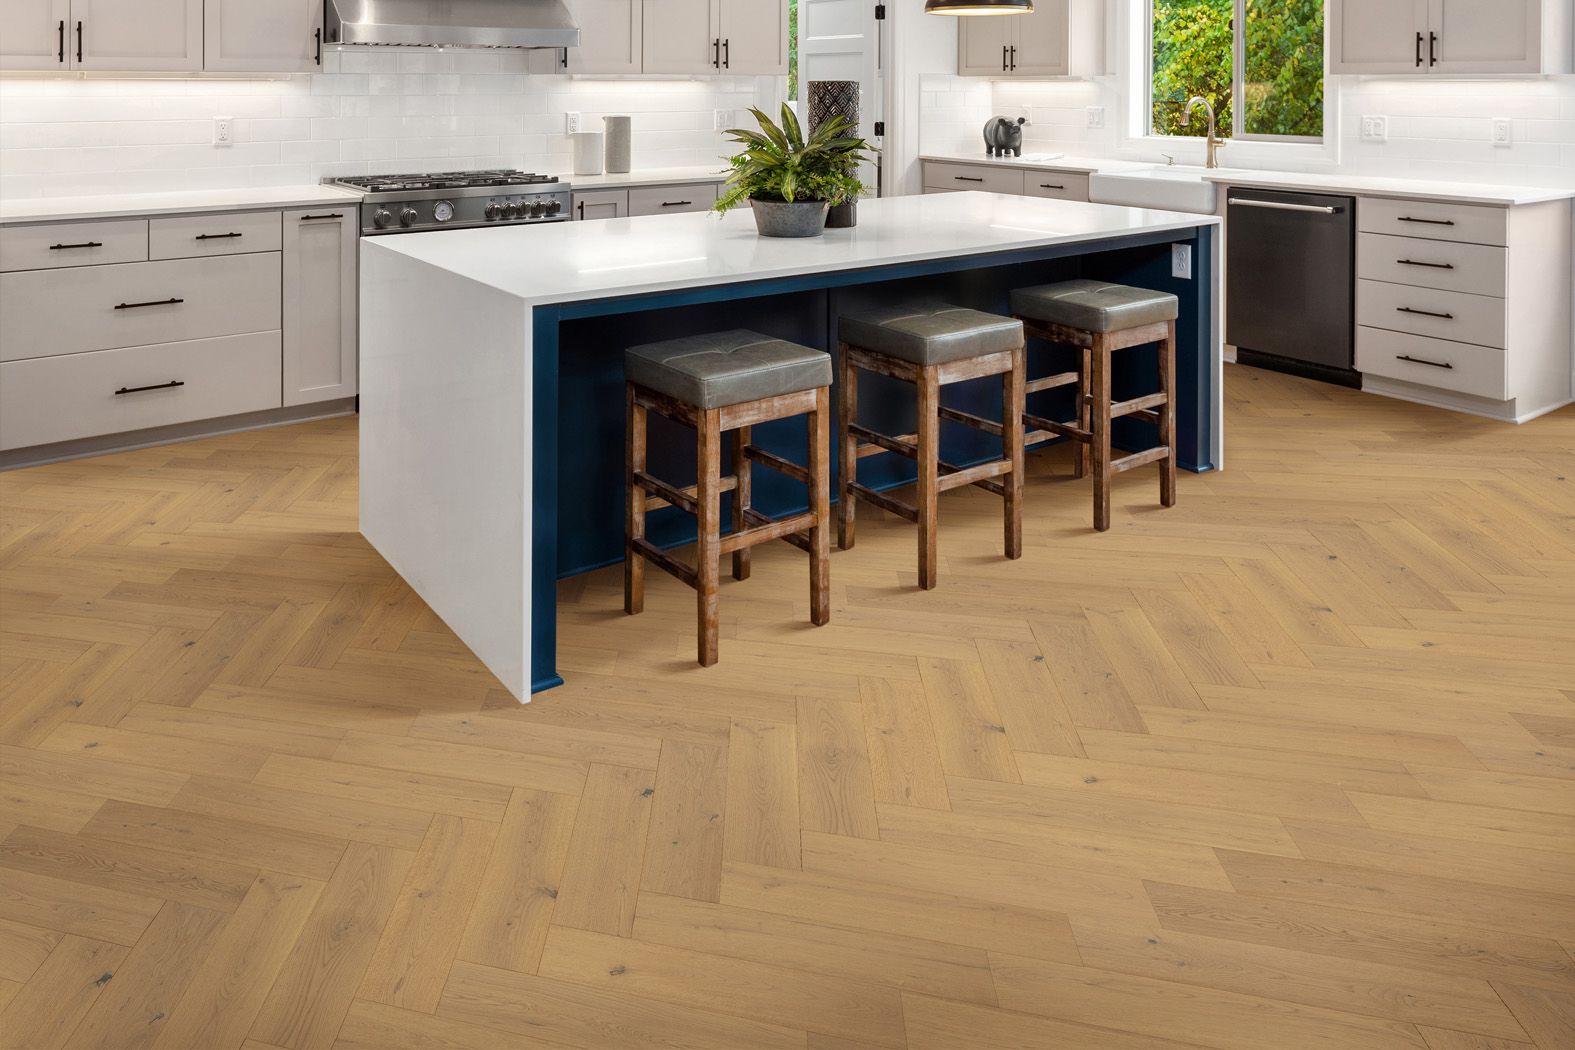
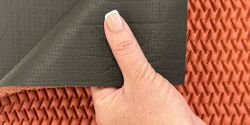
Yes, you’ll usually need underlay for engineered wood flooring when it’s installed as a floating floor. Underlay adds extra comfort, sound absorption, and heat insulation. If your engineered wood is stuck down or nailed to the floor, you won’t need underlay.
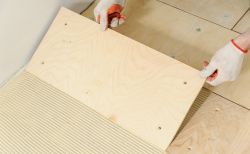
Yes, but rather than laying engineered wood flooring on floorboards, it’s better to lay it on top of a plywood subfloor to provide a level foundation before fitting. Floorboards can be gappy or uneven, which will result in the floor failing, causing problems in the future.
Yes! Fitting engineered wood flooring on concrete can be done, but just like with other types of subflooring, make sure it’s clean, level, and dry first. Allow a minimum of one day’s drying time for every 1mm in the depth of concrete laid. We recommend booking a Tapi home visit if you’re considering engineered wood, so we can check if you have a damp-proof membrane in place before fitting, or see if an additional moisture suppressant is required.
Now you have a better idea about how to install engineered wood flooring, why not explore our other helpful guides to learn more? Check out our complete engineered wood guide as well as the difference between engineered wood and laminate flooring.
If you’ve got any questions regarding engineered wood flooring or how to take care of a real wood floor, feel free to contact us or pop to your nearest Tapi store to chat with our expert floorologists. We can discuss your ideas, make personalised recommendations, and set you up with a free, no-obligation quote if you have your measurements to hand.

Published: 25-09-2025
Last reviewed: 05-10-2026









-250.jpg)





 copy-250.jpg)


-250.jpg)
-250.jpg)

-250.jpg)
 - Article Image (not header)-250.jpg)

-250.jpg)

-250.jpg)














-250.jpg)











-250.jpg)

-250.jpg)
-250.jpg)

 (2)-250.jpg)
 (2)-250.jpg)
-250.jpg)
-250.jpg)
-250.jpg)
-250.jpg)
-250.jpg)

-250.jpg)
-250.jpg)


-250.jpg)
-250.jpg)
-250.jpg)
-250.jpg)
-250.jpg)
-250.jpg)

-250.jpg)















-250.jpg)




 (1)-250.jpg)


-250.jpg)



-250.jpg)






-250.jpg)


-250.jpg)
-250.jpg)


Hold tight! We're getting your results

Did you know...
You can book a FREE home visit?