Find Samples
To add to your samples basket, simply navigate to a product you're interested in, select the colour you like and press the + icon on an empty sample slot.
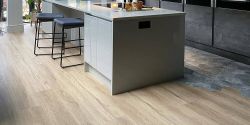
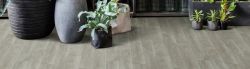
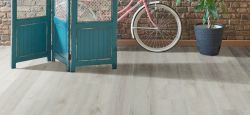
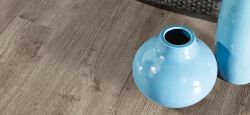
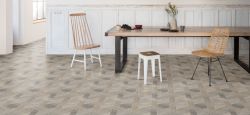
If you’ve just ordered some beautiful new laminate flooring, you’re probably feeling pretty chuffed about how perfect it will look in your home. The next step, of course, is fitting laminate flooring in your kitchen, hallway, or whatever space you’ve chosen. As flooring experts, we always think it’s best practice to let our experts fit your flooring, well – expertly! But you may have heard that learning how to fit laminate flooring is fairly straightforward to do yourself.
If you’re thinking of fitting your laminate flooring yourself, here’s a helping hand to ensure you cover all the bases. This step-by-step guide on how to lay laminate flooring has all the tips and tricks. Find out which essential tools you’ll need for laminate flooring installation, as well as some FAQs if any last-minute questions pop up before you start.
In this guide:
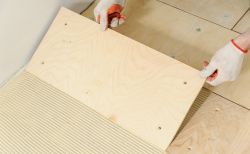
You will need specific tools for laying laminate flooring to make sure it lies correctly with no gaps or spaces. Check the manufacturers’ guidelines to ensure you have the right tools, as different locking mechanisms require different approaches.
Your tools checklist will likely look something like this:
Before starting your laminate flooring installation project, always remember the following:
Our favourite saying here at Tapi is: ‘Fail to prepare; prepare to fail!’ We take our preparation very seriously, and you should too to make sure your new laminate flooring stays gorgeous for many years to come.
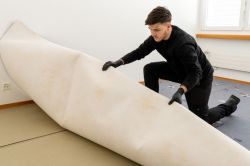
If you’ve read our laminate flooring guide, you’ll know that acclimatising your laminate flooring and preparing your subfloor are two crucial first steps. Laminate or solid wood flooring should not be laid over old flooring, as the surface may not be level and can trap moisture and dampness beneath the new floor.
Take up your old flooring and make sure your subfloor is dry, smooth, level, and free from debris. If you need any help with checking whether your flooring is up to scratch, read our guide on what makes a good subfloor. Or book a free home visit, and one of our floorologists can pop round to assess your subfloor and measure up at the same time.
Now that you have a clear subfloor, you’re ready to jump into the next stage of the process – laying your underlay and the laminate flooring!
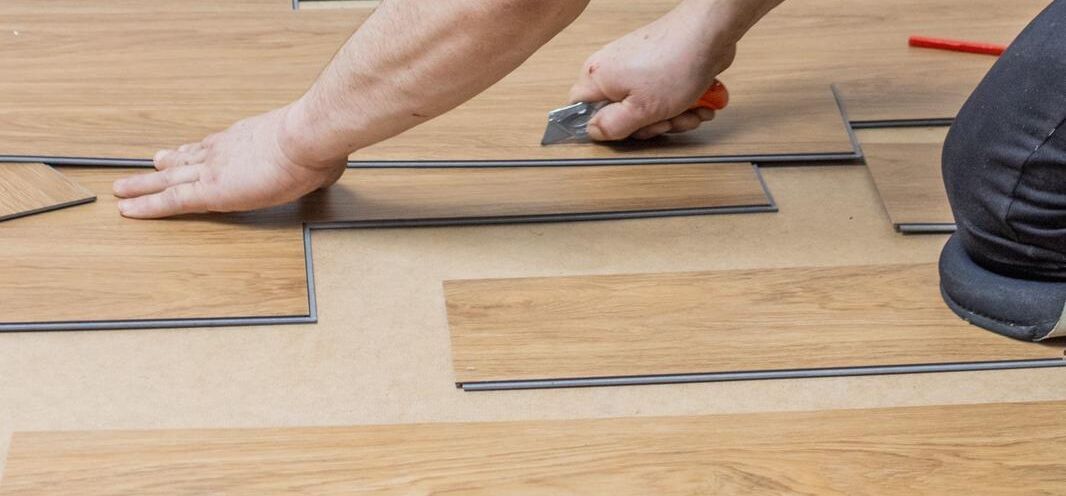
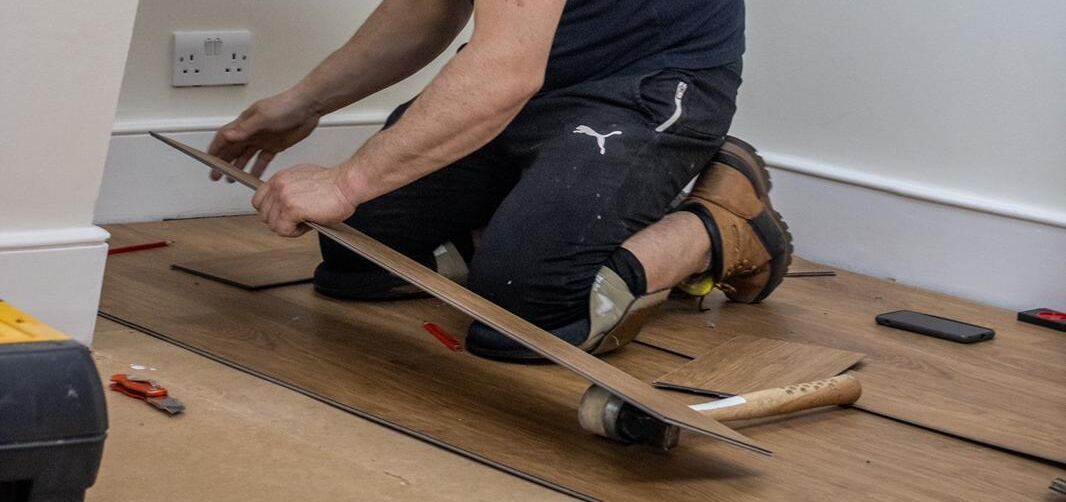
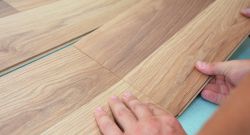
Follow these steps to learn how to install laminate flooring like an expert. We’ll walk you through each phase, including where to start laying laminate flooring in your space.
You have two choices when it comes to fitting laminate flooring around doors – undercut the doorframe so you can slide the boards underneath, or cut the boards to fit around the door frame.
For radiator pipes, you can use a flat wood bit to drill a hole, followed by cutting a keyhole shape with a mitre saw around the pipe. Most radiator pipes require a 30mm hole, so ensure the hole is big enough that none of the laminate boards will touch the pipe, and there's an adequate expansion gap.
This is the section where we will need to do a little maths! Follow these steps on how to work out how much laminate flooring you need:
To work out how many boxes of laminate you’ll need to cover your entire room, you're going to divide the room area by the pack size.
So, if the room is 15m² and the laminate you’ve chosen comes in a pack size of 2.3m², you'll divide 15 by 2.3 to get an answer of 6.5. This means you’ll need 7 boxes of flooring.
Apply this same formula to different box and pack sizes to figure out just how many packs of laminate you'll need.
If you’re hoping to save money by fitting your laminate flooring yourself, there are other costs you’ll need to consider on top of the price you pay for your laminate boards, which is covered in detail in our laminate cost guide.
You may find that if you choose to fit your own flooring, the cost of purchasing all the necessary tools may outbalance the cost of a professional fitter who comes with all the tools. It’s just about weighing up the cost-to-benefit ratio!
The laminate flooring fitting process can look complicated at first glance, and there are certainly a lot of steps to consider to do it right. If you still have questions about the dos and don’ts of laying laminate flooring, we’ve got you covered. We’ve answered some of the most common questions we hear from our customers about laying laminate themselves:
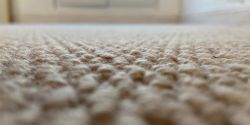
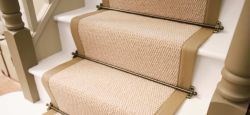
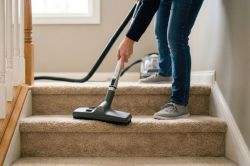
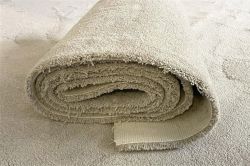
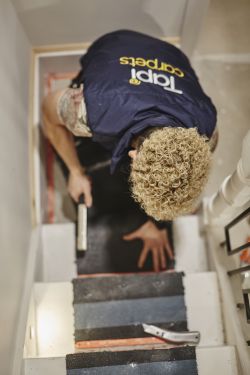
No, you must always take up the carpet before laying any laminate. A thick plush carpet isn’t stable enough to support a laminate floor. Before laying laminate, always check the quality and standard of your subfloor to ensure that it’s stable, strong, and dry enough to keep your laminate safe.
Yes, you can definitely lay laminate flooring over concrete. Concrete and other smooth surfaces are highly recommended as good subfloors for laying laminate – however, if you’re laying fresh concrete, ensure it’s completely dry and smooth before you lay your underlay. Allow a minimum of one day’s drying time for every 1mm in the depth of concrete laid.
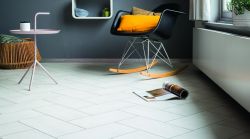
Yes! Wooden flooring is a great option for laying laminate flooring over, however, there are a couple of requirements you must be aware of before you start rolling out the underlay.
If your subfloor is uneven, part of the preparation process will involve smoothing and levelling out your subfloor so the top layer is perfectly flat, ready for installing your new laminate flooring. For large scale commercial and industrial projects, this will usually be done using screed. Screed is typically made from a concrete and sharp sand mixture that requires levelling out and takes around a minimum of 24-48 hours to dry. As a rule of thumb, it’s a day’s drying time per 1mm of thickness. To fully dry out, screed can take several days or even weeks – and who can wait that long?
For homes and smaller residential projects, you should use a smoothing compound or self-levelling compound to achieve an even subfloor. It’s quick to apply, quick to dry, and has a much smoother finish. Fast-drying smoothing compounds often take only a few hours to dry, but we’d always recommend following the manufacturer’s instructions on drying time before installing your new laminate flooring.
When you're buying laminate flooring with Tapi, you don't need to worry about fitting it yourself. We use local independent fitters who are experts in their field (not to mention, really lovely people!) who will make quick work of laying your laminate flooring.
Why not book a free home visit or visit your nearest store to speak to our team and see what we can do for you? We have so many collections to choose from, including gorgeous, water resistant Quick-Step laminate flooring .
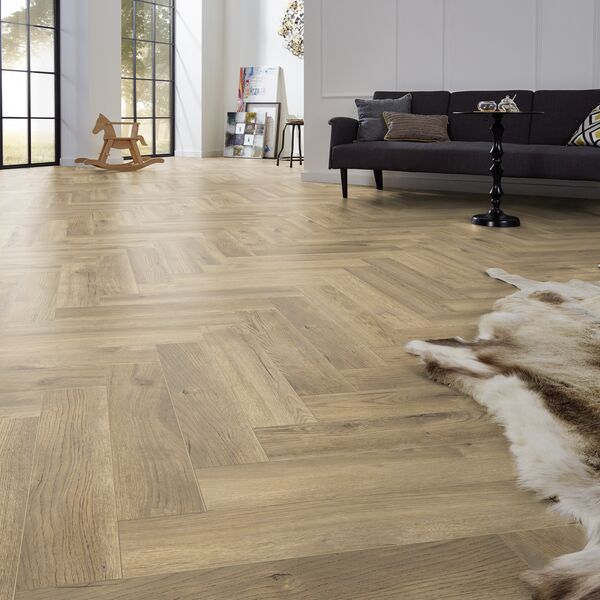
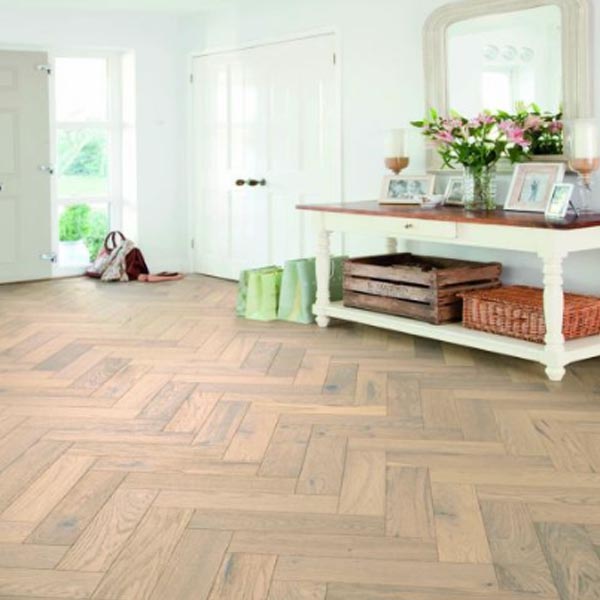
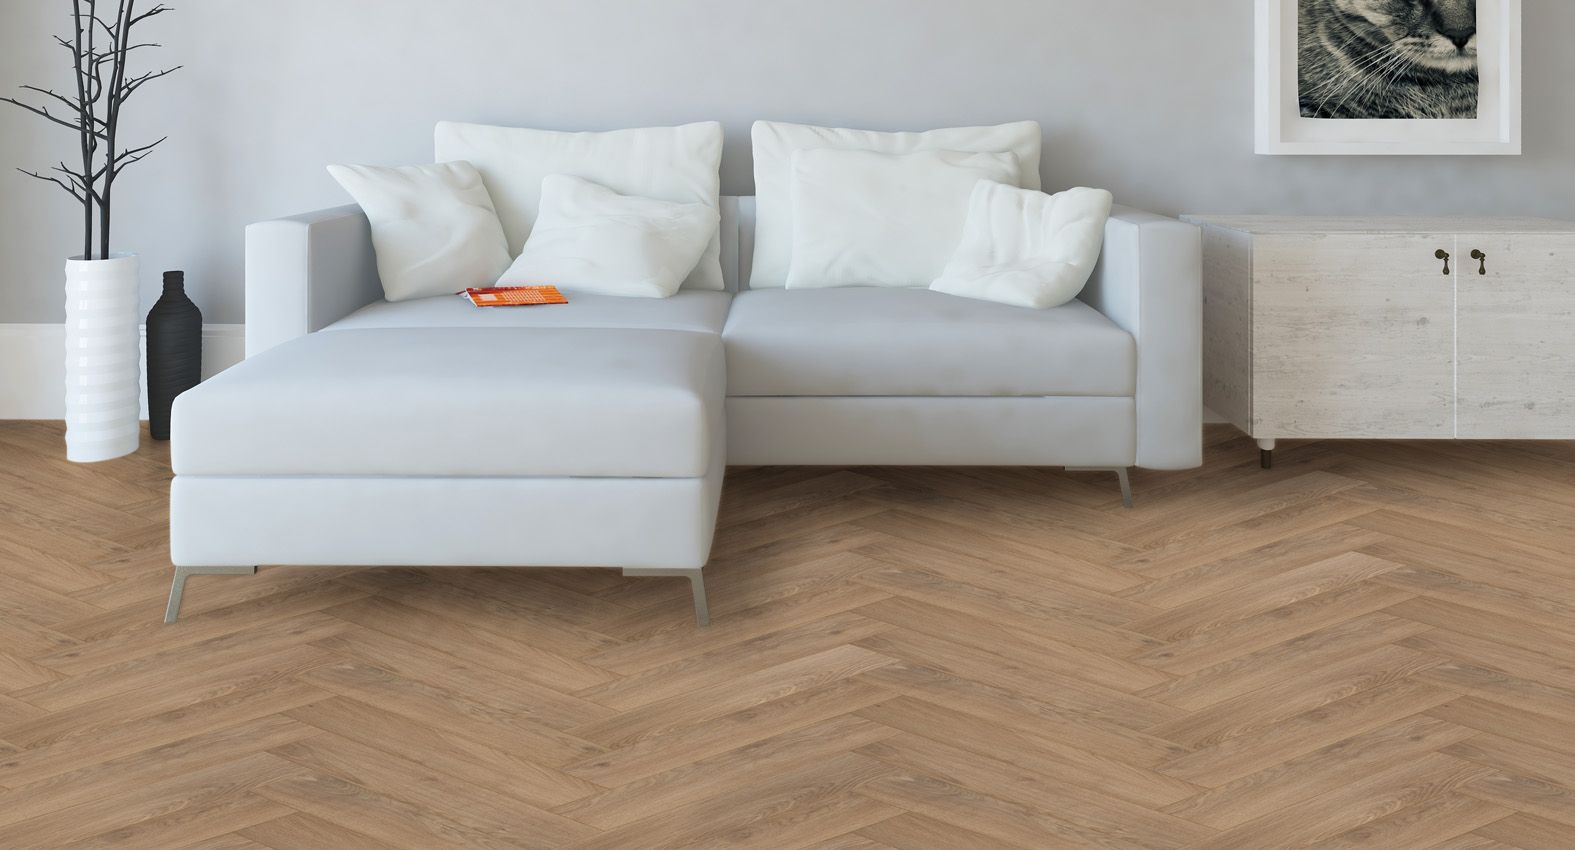
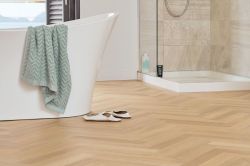
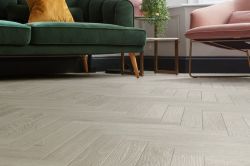
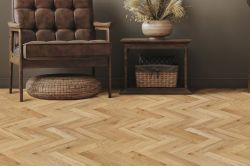
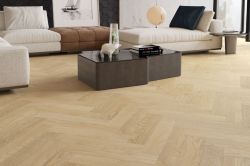
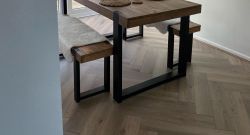
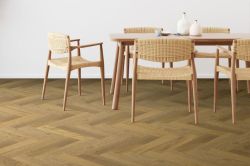
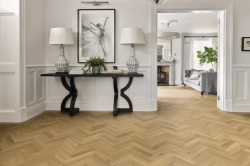
If you’ve decided to jump headfirst into DIY, check out our tips on caring for your laminate floor to find out more about looking after it properly for the future. You won’t want your masterpiece to get covered in scratches! Or if you fancy a challenge, read our tips on how to lay herringbone flooring.

Published: 20-08-2025


-250.jpg)


-250.jpg)
 copy-250.jpg)

-250.jpg)
-250.jpg)

-250.jpg)
 - Article Image (not header)-250.jpg)

-250.jpg)
-250.jpg)


-250.jpg)


-250.jpg)

-250.jpg)
-250.jpg)

 (2)-250.jpg)
 (2)-250.jpg)
-250.jpg)

-250.jpg)
-250.jpg)
-250.jpg)
-250.jpg)

-250.jpg)
-250.jpg)


-250.jpg)
-250.jpg)
-250.jpg)
-250.jpg)
-250.jpg)
-250.jpg)

-250.jpg)


-250.jpg)


 (1)-250.jpg)


-250.jpg)


-250.jpg)


-250.jpg)
-250.jpg)
-250.jpg)

Hold tight! We're getting your results

Did you know...
You can book a FREE home visit?