Find Samples
To add to your samples basket, simply navigate to a product you're interested in, select the colour you like and press the + icon on an empty sample slot.
Are you searching for the perfect vinyl flooring for your bathroom? You’re in... Read more
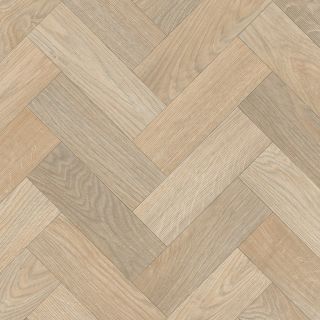

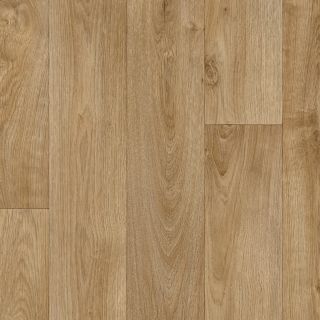

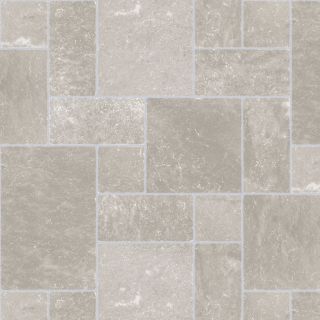

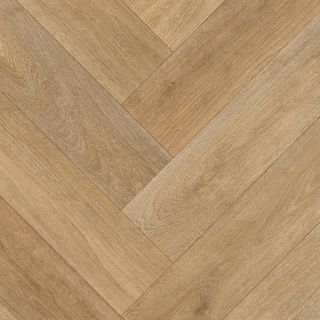
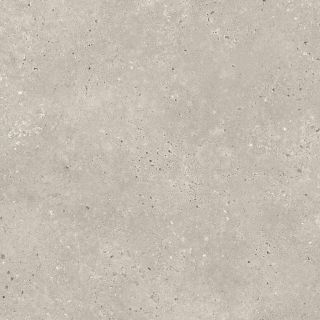
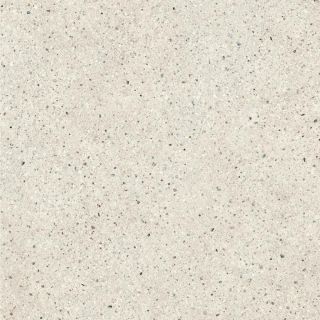
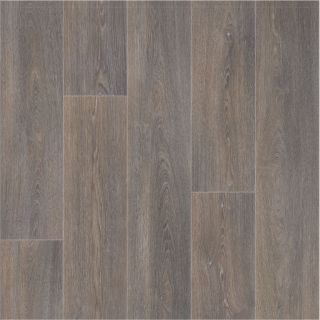
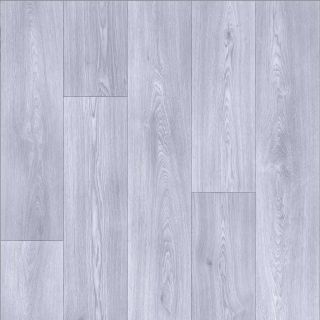
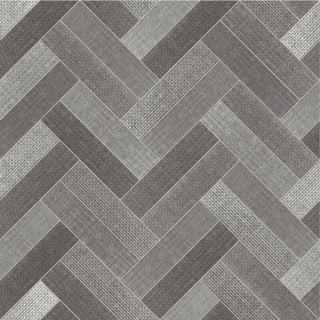
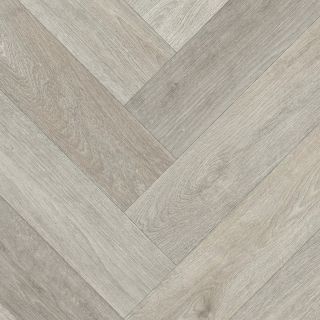
Samples
colours available

After measuring your bathroom, including the sink and toilet, clear and clean the floor. After acclimatising the vinyl flooring to room temperature, align the vinyl before marking and trimming the edges to fit around the walls. Then, create neat creases and cuts where the vinyl meets the skirting boards and corners before securing it to the subfloor with adhesive.
For a detailed step-by-step guide, read how to fit vinyl flooring.
Bathroom vinyl flooring doesn’t usually need an underlay. Ensuring that the subfloor is clean, dry, and free of debris before installing your vinyl is typically more important.
Firstly, you’ll need to lay your vinyl as far as the front of the sink pedestal, before folding it back on itself. Then, cut in a straight line from the edge to the centre of the pedestal and make several small cuts in the vinyl near the base until the sheet sits flat.
Once you’ve completed the cutting, create a crease using a bolster chisel, then trim down each flap of vinyl until it perfectly fits. Once you’re happy, lift the vinyl up again and put adhesive around the edges and along the join. Finally, just push down to secure it into place.
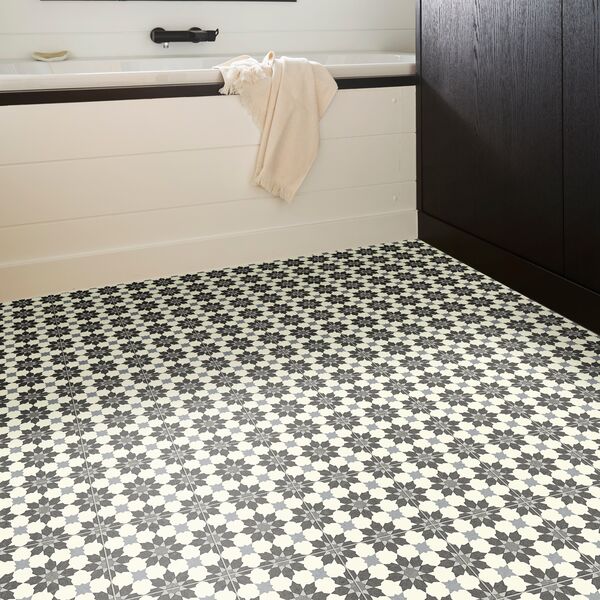
Kitchens and bathrooms suit a variety of vinyl flooring styles, with marble, wood effect vinyl, and stone effect designs being perfect choices. Bathroom vinyl is the perfect blend of water resistance, an eye-catching design, and a comfortable feel underfoot.
Read our vinyl buying guide to learn more about the types of vinyl we offer.
Lino or vinyl flooring is a great option for bathroom flooring. Technically, there are a few key differences between vinyl and lino, although many people use the terms interchangeably to refer to vinyl. Traditional lino is made of natural materials and requires resealing to maintain water resistance, while vinyl is made of water resistant PVC layers, so vinyl is usually the best bet for your bathroom!

Hold tight! We're getting your results

Did you know...
You can book a FREE home visit?

Trouble finding the right one?
Book a FREE Home Visit - we'll bring all the samples to you, hassle-free.
No thank you I'll keep looking