Find Samples
To add to your samples basket, simply navigate to a product you're interested in, select the colour you like and press the + icon on an empty sample slot.
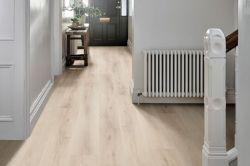
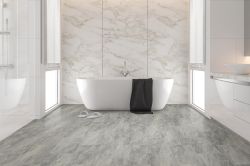
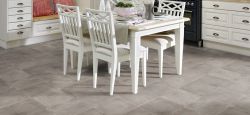
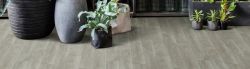
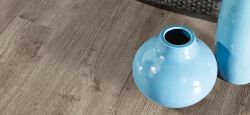
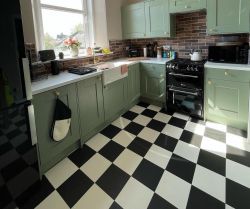
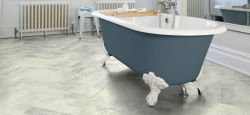
Are you looking for flooring that is stylish, easy to clean and budget-friendly? Then you’re looking for vinyl flooring! Buying new vinyl flooring can involve a lot of different steps, one of which is fitting the flooring itself. Whether you’re a DIY enthusiast who wants to give it a go yourself or you’re keen to know more about the process, this is the guide to learning more about how to lay vinyl click flooring.
We’ll take you through the different steps of laying vinyl click flooring, as well as the different measures you may need to take for laying click flooring on different types of subfloors. So grab your toolbox and let’s get started!
.jpg)
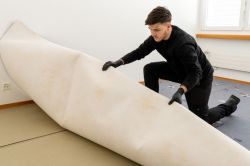
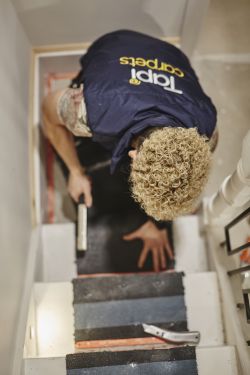
We always recommend that you use our professional fitting service when buying and installing flooring from Tapi, particularly because our experts are friendly, and skilled and will leave you with a beautiful floor that lasts and lasts. However, if you need to fit your flooring, then there are a few steps you’ll need to take, starting with collecting the right tools.
One of the most important steps you can take comes right at the start of the process – ensuring that your subfloor is completely clear of any debris or dampness and that it’s completely level too. A solid subfloor will keep your flooring looking and feeling amazing for a long time and will also help you avoid annoying future problems like your click flooring separating, bending or even needing to be completely replaced due to subfloor issues.
Your flooring will need at least 48 hours to get used to the different conditions in the room you want to put it in – the boards will need some time to grow and shrink to the humidity and the temperature in the room. Make sure to lay them flat in the middle of the room with nothing on top of them or underneath them so that they can properly acclimate to the surroundings.
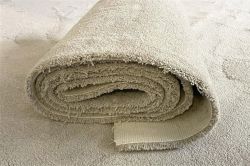
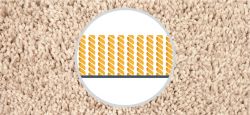
For most vinyl flooring, it’s not necessary to use underlay because vinyl flooring has a built-in layer of soft material that gives the same effect as an underlay. However, some click vinyl flooring does require an underlay to go underneath, especially if it’s a floating floor, as this will help to keep the floor balanced and protected. There are more specific steps on laying underlay in our guide.
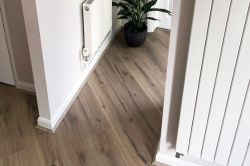
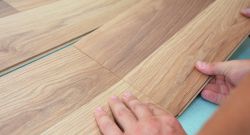
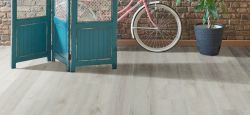
Start by laying your planks in the direction that you’d like them to face, ensuring that you leave the recommended expansion gap between the tile and any walls.
Click flooring has two sides – the long edge is called the female profile, and the short edge is the male profile. Start with the male profile first, so take two short ends and hold them at a 45-degree angle to each other. Slowly push down until both boards are flat and the profiles have clicked together.
Continue this clicking process until you have a full row, and the planks are flush. Then, you can begin inserting along the female profile, using the same method of placing the profiles together at 45 degrees and pushing slowly until both boards are flat against the floor.
Once you get the hang of the process, continue to click the boards together until you have covered the floor. When you get to the last planks in the rows, you may need to cut them down to size to fit. To cut your planks in the safest way possible, use a Stanley knife to score the plank and snapping it off cleanly.
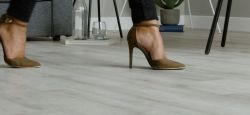
It's not over once your flooring is installed! It is important to take care of your floor the same way you would any other product. To keep LVT and vinyl flooring in great condition for years to come, you have to keep it clean and dry as much as possible. You can find out more about keeping your click flooring in good condition by reading our LVT care guide.
.jpg)
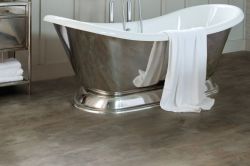
You don’t need to worry about moisture as much with chipboard subfloors, however, you may want to include an underlay that helps with noise reduction and insulation to keep you warm and to keep your neighbours happy too!
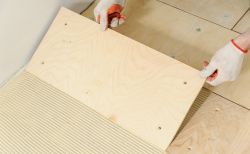
Your floorboards will need to be sheeted with plywood or our fibreboard; and if you have chipboard floors that isn’t flat and smooth, you’ll also need to sheet them, too.
It’s best to check with our team whether your flooring will require an underlay or not before you purchase one, so why not get in touch with our team today to speak to one of our flooring experts?
If, after reading this guide, you’d prefer to have a professional fit your click vinyl flooring for you, then you can reach out to our team here at Tapi to organise all the services you could need. Why not arrange a free home appointment for one of our professionals to visit your home and get a real evaluation of the work needed, or organise a free store appointment to check out all the vinyl and LVT options - including stone-effect LVT -that we have in your local Tapi store? Our floorologists will give you all the information on our fitting service, so you won’t need to worry about doing it yourself! Alternatively, find out more about what vinyl is with our helpful guide, including its many benefits, or check out our vinyl vs laminate guide, if you're struggling to decide.


-250.jpg)


-250.jpg)
 copy-250.jpg)

-250.jpg)
-250.jpg)

-250.jpg)
 - Article Image (not header)-250.jpg)


-250.jpg)
-250.jpg)


-250.jpg)


-250.jpg)

-250.jpg)
-250.jpg)

 (2)-250.jpg)
 (2)-250.jpg)
-250.jpg)

-250.jpg)
-250.jpg)
-250.jpg)
-250.jpg)

-250.jpg)
-250.jpg)

-250.jpg)
-250.jpg)
-250.jpg)
-250.jpg)
-250.jpg)
-250.jpg)

-250.jpg)


-250.jpg)


 (1)-250.jpg)


-250.jpg)


-250.jpg)


-250.jpg)
-250.jpg)
-250.jpg)

Hold tight! We're getting your results

Did you know...
You can book a FREE home visit?