Find Samples
To add to your samples basket, simply navigate to a product you're interested in, select the colour you like and press the + icon on an empty sample slot.
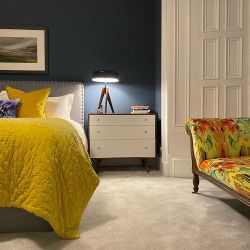
We spoke to interior designer Briony Ace to get an expert's guide to starting and planning a design project.
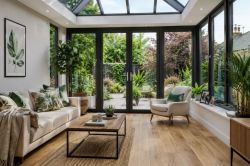
Starting a new design project is always the most exciting part. There’s a buzz of possibility, that feeling that you could take the room in so many different directions. However, with that excitement can come overwhelm. Where do you start? How do you pull all your ideas together and make sure they actually work in your home, not just in your head?
For me, the design process is about slowing down, asking the right questions, and letting the space tell me what it needs. I like to build schemes that are grounded, soulful and functional — spaces that give back as much as they take. In the following guide, I’ll share my process and hopefully this will help anyone planning their own interior design project.
In this guide:
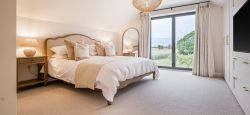
Before I even think about colours or fabrics, I spend time reflecting on how the room needs to work. A few questions I always ask:
Sometimes the answers surprise you — and they almost always shape the design more than you think.
That dreaded word: budget! Budgets aren’t glamorous, but they’re essential. They also give you clarity about where to put your money for maximum impact. I like to:
Tapi Top Tip - Use Tapi’s guide to budgeting for new flooring to ground your cost expectations (it's really handy when you’re at the planning stage)!
 (no swatches) - 900x600 (1800x1200) .jpg)
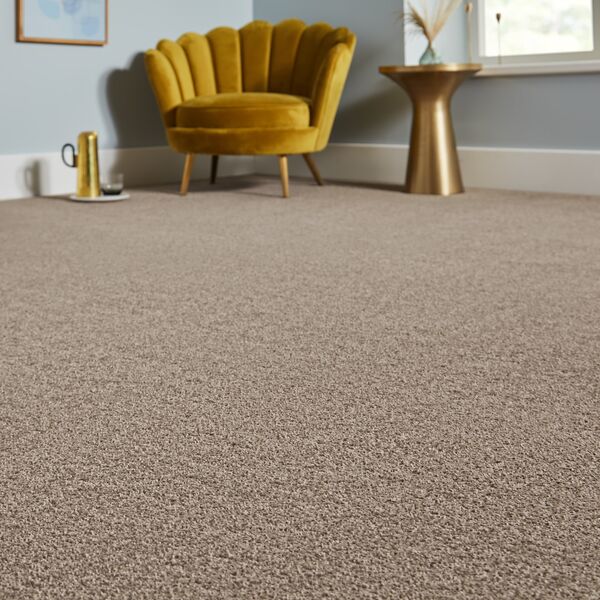
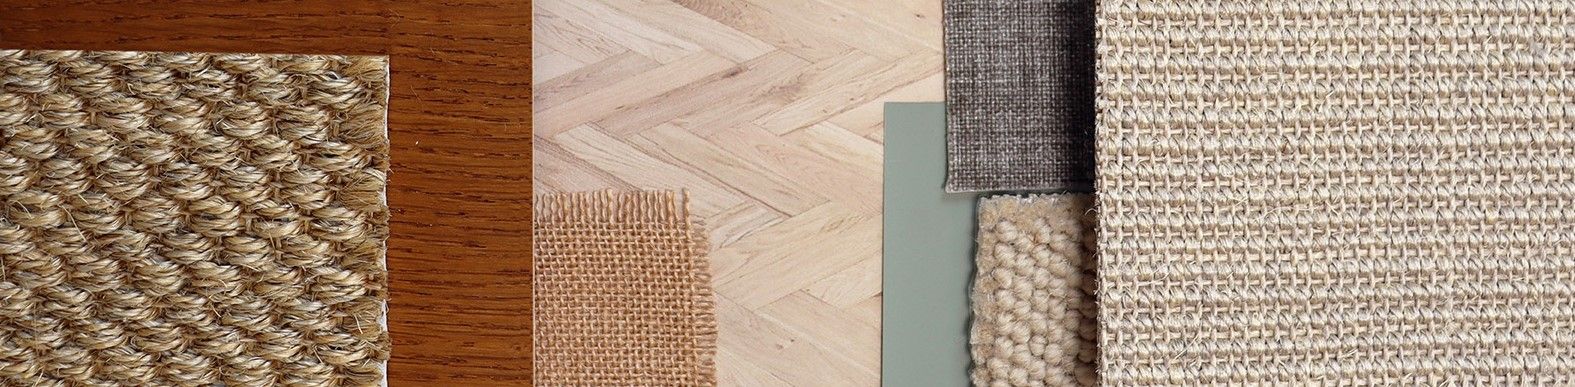
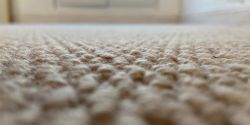
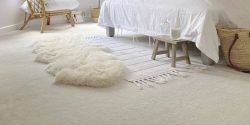
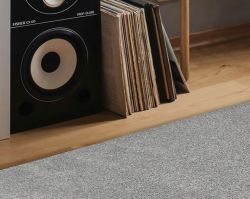
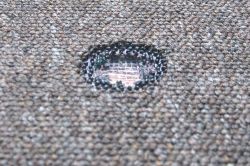
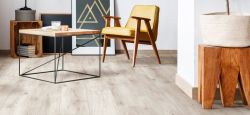
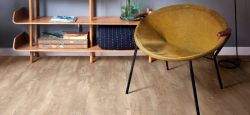
I couldn’t design without samples! They’re tactile, they bring the scheme to life, and they show you how things really sit together. Here are my sample tips:
I always present my designs to clients with a box of samples and I love seeing their eyes light up as it makes it so much easier to envision.
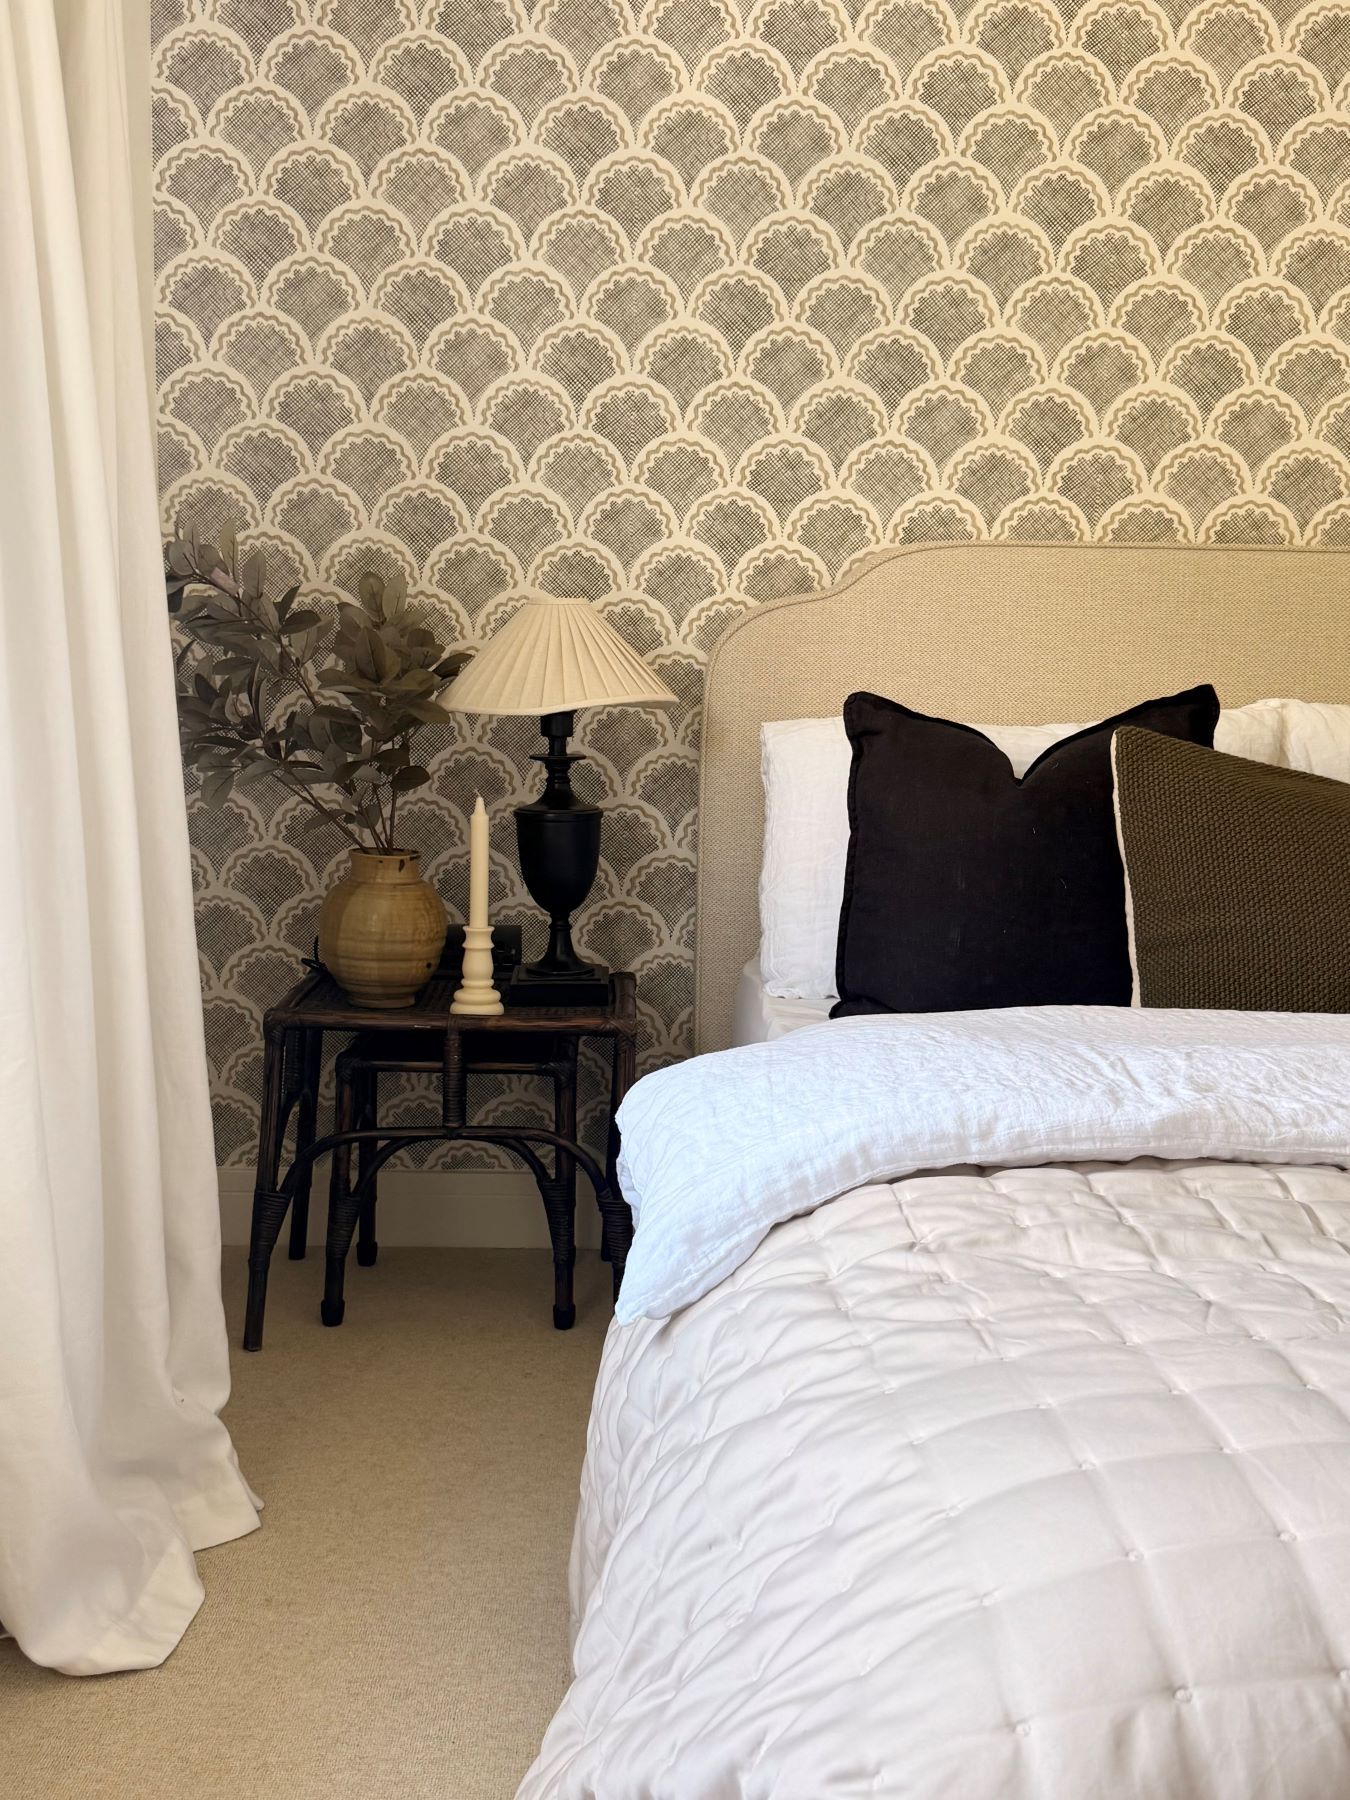
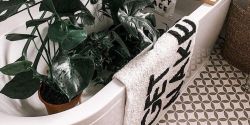
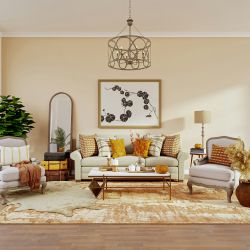
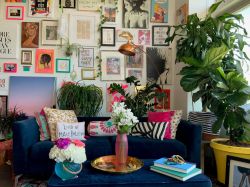
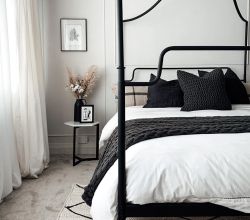
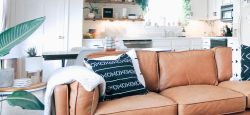
Once you've gathered your inspirations and pulled together a few samples it's time to create the mood board. It doesn’t need to be fancy — it just needs to hold everything in one place so you can see the story unfolding and it gives you a point of reference to keep going back to and keep you on track.
What to include:
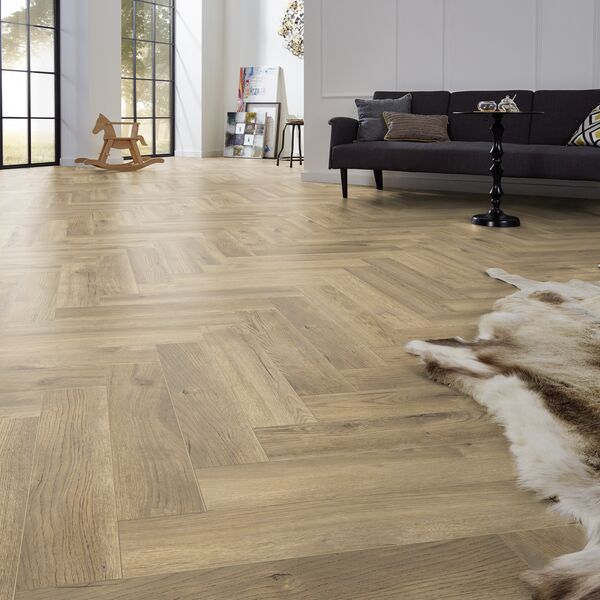
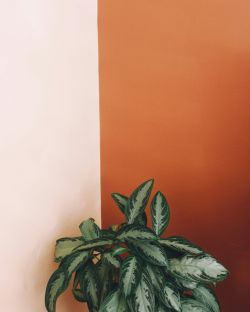
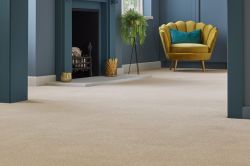
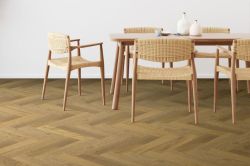
I usually start with one anchor or "jumping off point": it could be a vintage textile, a favourite artwork, a view from the window, or even a much-loved chair. From there, everything else builds outwards. Tapi have a selection of lookbooks to give you flooring ideas for particular interior trends - there’s everything from modern neutrals to bold and colourful.
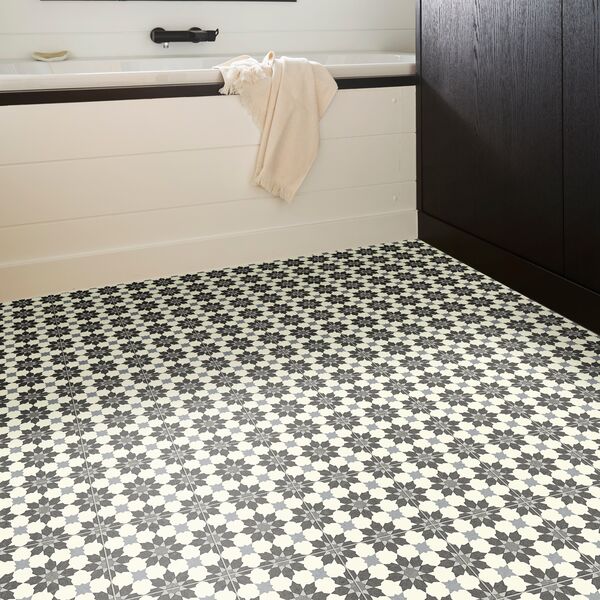
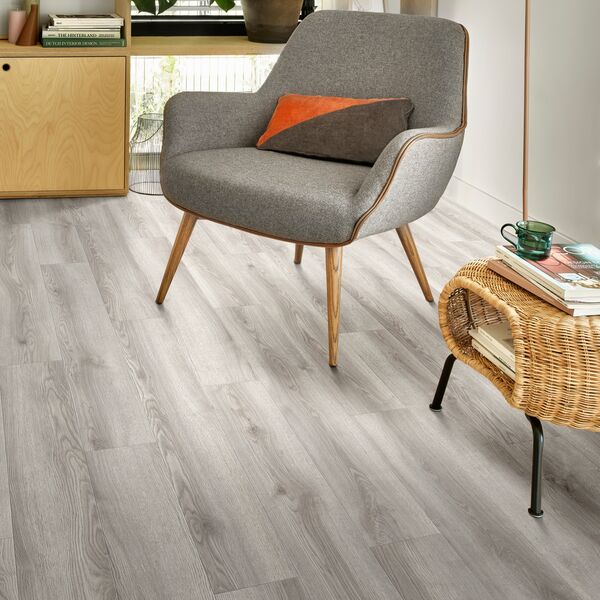
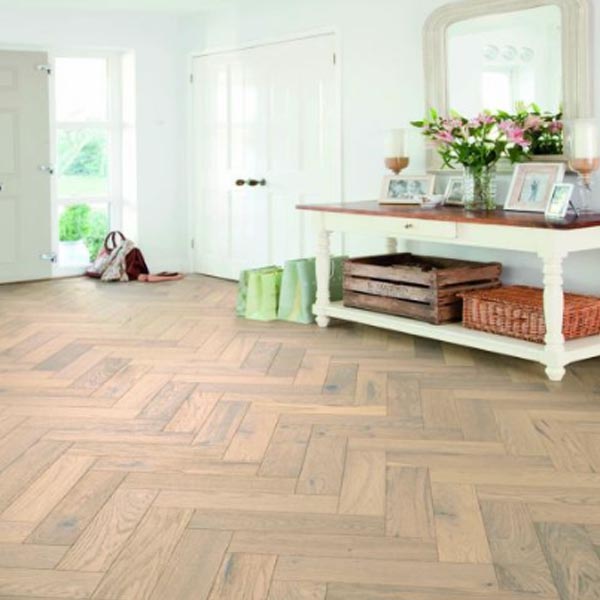
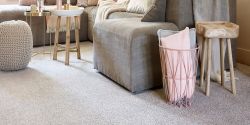
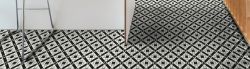
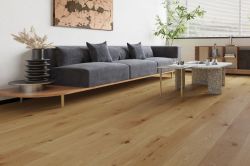
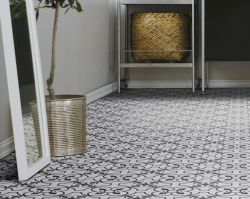
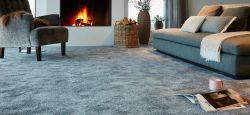
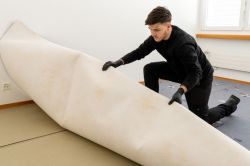
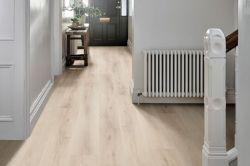
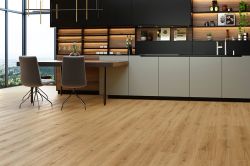
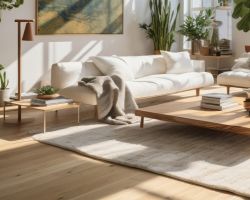
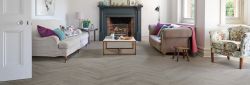
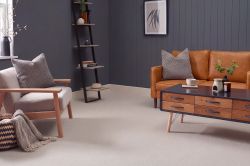
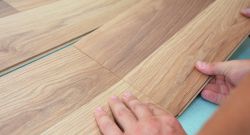
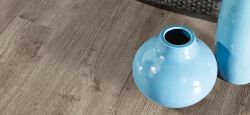
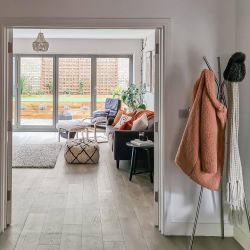
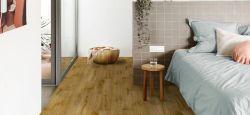
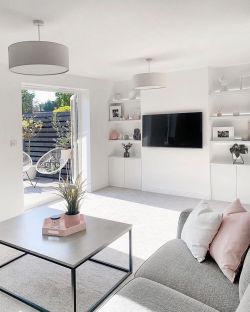
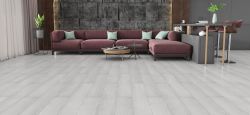
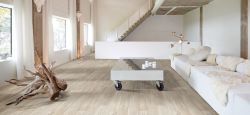
Flooring is part renovation, part decoration. It’s not something you change lightly, so it deserves early thought. I usually finalise flooring once the overall scheme is sketched out, but before locking in paint or fabrics.
Think of it as the grounding element. Once the floor is set, everything else can layer and flow around it. Tapi’s PictureIT tool is really useful here — you can upload a photo of your room and see new flooring in situ. It’s the closest thing to standing in the space before committing!
I’ve learnt a few things from being an interior designer for many years and working on multiple design projects, so here are a few of my top tips.
Designing a home isn’t about rushing to the end - it’s about enjoying the process. Take time with the early steps, gather your inspiration, and let the scheme unfold. With a thoughtful beginning, the result will always be a space that feels natural, restorative and uniquely yours. If you need help with choosing flooring for your design project, bring along your photos, swatches or mood boards to your nearest Tapi store, or book a home visit and a Tapi flooring expert will pop round with samples for you to try in your own space.
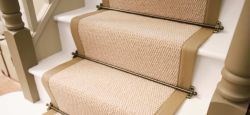
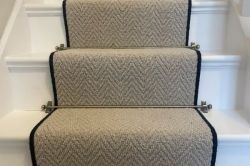
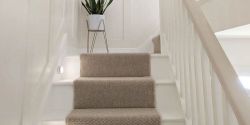
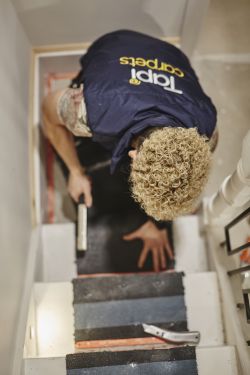
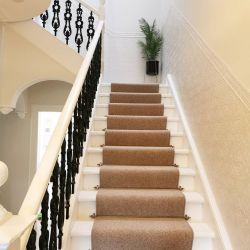
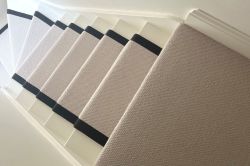
Take a look at Briony’s stairs transformation using our Lerwick black and cream striped carpet.

Published: 25-09-2025

-250.jpg)


-250.jpg)
 copy-250.jpg)
-250.jpg)
-250.jpg)
-250.jpg)
 - Article Image (not header)-250.jpg)
-250.jpg)
-250.jpg)


-250.jpg)


-250.jpg)

-250.jpg)
-250.jpg)
 (2)-250.jpg)
 (2)-250.jpg)
-250.jpg)

-250.jpg)
-250.jpg)
-250.jpg)
-250.jpg)
-250.jpg)
-250.jpg)
-250.jpg)
-250.jpg)
-250.jpg)
-250.jpg)
-250.jpg)
-250.jpg)
-250.jpg)


-250.jpg)

 (1)-250.jpg)
-250.jpg)
-250.jpg)
-250.jpg)
-250.jpg)
-250.jpg)
Hold tight! We're getting your results

Did you know...
You can book a FREE home visit?