Find Samples
To add to your samples basket, simply navigate to a product you're interested in, select the colour you like and press the + icon on an empty sample slot.

There are plenty of reasons why you might be looking to get rid of your laminate flooring – perhaps you have to remove the flooring to fix a subfloor issue, or maybe you’re just no longer loving the aesthetic of the laminate in the room. Regardless of why you want to remove it, our step-by-step guide will explain the process to follow, the tools you’ll need, and how to look after your subfloor once the laminate is up.
In this guide:
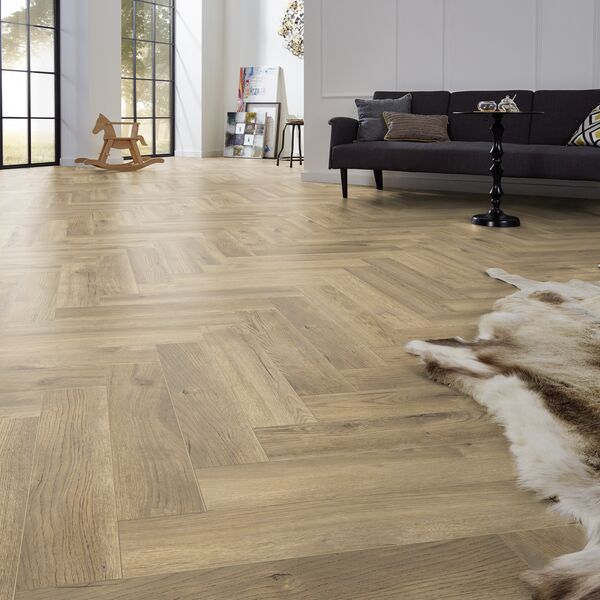
Modern laminate flooring is made from interlocking boards, and so doesn’t require glues or nails; it simply slots together and ‘floats’ above your existing subfloor. Removing these boards is relatively straightforward. Most modern laminate flooring can be reused as long as the boards are in good shape and removed carefully, keeping the locking mechanisms intact.
Rarely, if you are removing older flooring, you may encounter earlier generations of laminate flooring, which were sometimes fixed together with adhesive. This is slightly trickier to remove – but will come apart if you’re determined!
Sadly, once glued laminate has been removed, it can’t be reused.
A few steps to ensure both you and your space are ready for the work ahead of removing laminate flooring:
If you’re aiming to reuse the laminate boards, clean them before you begin.
Use the hammer to lightly tap on top of your chisel to wedge it between the board and wall. Then, lever the chisel to prise it away from the wall. Carefully pick out any nails left with the claw of your hammer and ensure you label the position of the skirting boards for use again later.
Now remove any transition strips. You’ll find these plastic or metal pieces on the thresholds between rooms. Remove them using a crowbar to lever it from the floor, or unscrew any screws holding them in place. These should not be re-used.
Slide the “J” end of the flat bar into the gap between the first row of boards and the wall, or the access space revealed by the transition strip. You should be able to lever the board up by about 45 degrees. Gently manoeuvre it back and forth until it separates from the next board.
If you’re working with an older floor, this is the point at which you may find there is a glue seal between boards in which case you’ll need to apply more force.
Once you’ve completed the first row, turn back and repeat the steps until you’ve removed all of the boards. You’ll find that the process becomes easier as more boards are removed, and you get used to the motion and where the board bends to unclick. Moving carefully and slowly will benefit you if you are hoping to reuse the boards, so don’t rush to finish.
Once all the planks have been lifted, you should be able to see the condition of your subfloor. There will probably be laminate underlay beneath your boards to help absorb impact from foot traffic and protect your flooring. Underlay should be removed and replaced before the new flooring is installed: it should roll up easily.
Once your subfloor is completely clear, clean up with a vacuum to get rid of any splinters or dust. Store any laminate you would like to reuse in a dry, secure place. Our laminate flooring care guide is a great guide to looking after your older flooring.
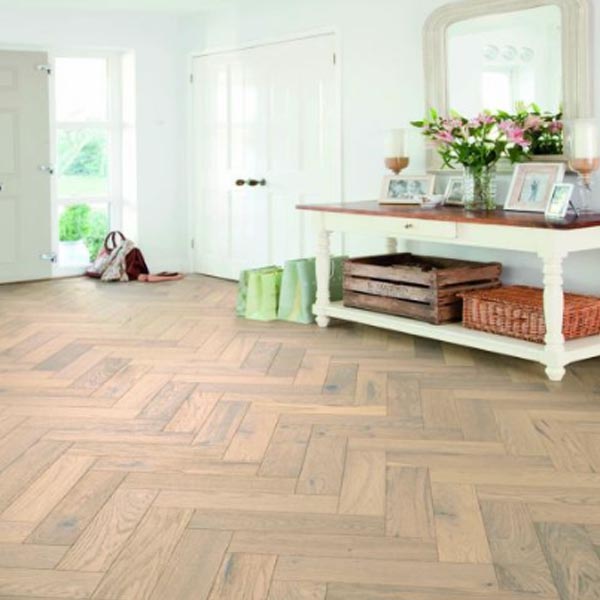
You now have a blank canvas you can choose to style in any way you like!
Now the old flooring is gone, what next? If you fancy an updated laminate or carpet, take a look at our Tapi collections, or explore famous brands such as Quick-Step laminate. Or maybe something completely different? An entire world of flooring options is out there!
Why not come down to your local Tapi store and speak with one of our amazing floorologists about the different options available and get a chance to see some of our beautiful flooring options, from carpet to luxury vinyl tiles. You also won’t need to worry about installing the new flooring yourself as we have an installation service available to all our customers.
If you’re keen to do it yourself, then you can check out some of our guides to installing different flooring types, like our ‘How to install laminate flooring’ guide which is packed full of useful information on the process, the tools you’ll need and the different FAQs you might come up against during the process.

Published: 04-06-2025


 copy-250.jpg)

 - Article Image (not header)-250.jpg)

-250.jpg)