Find Samples
To add to your samples basket, simply navigate to a product you're interested in, select the colour you like and press the + icon on an empty sample slot.

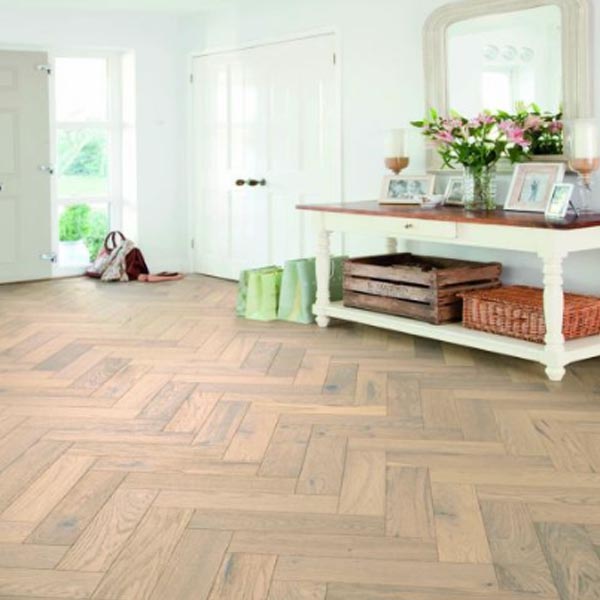
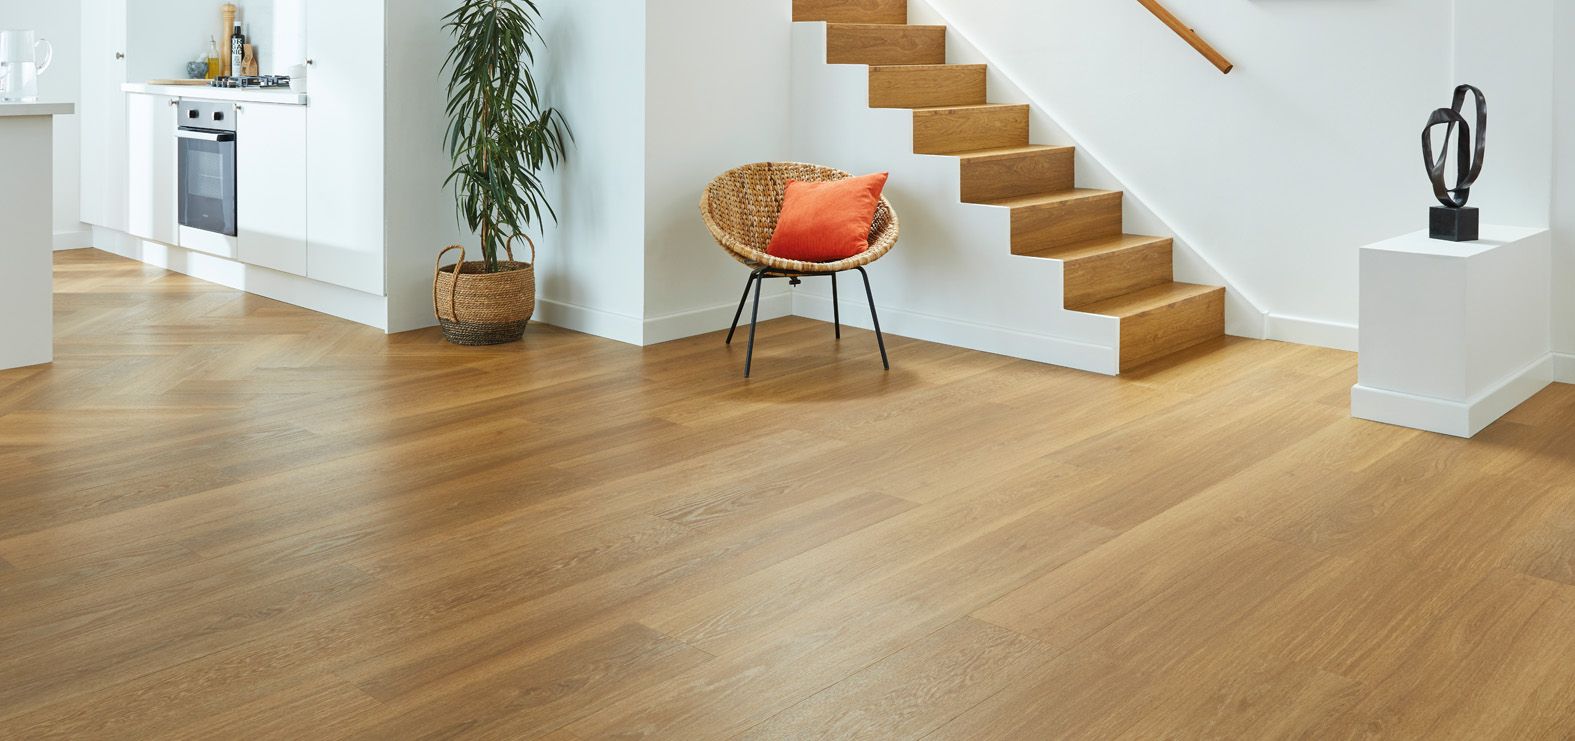
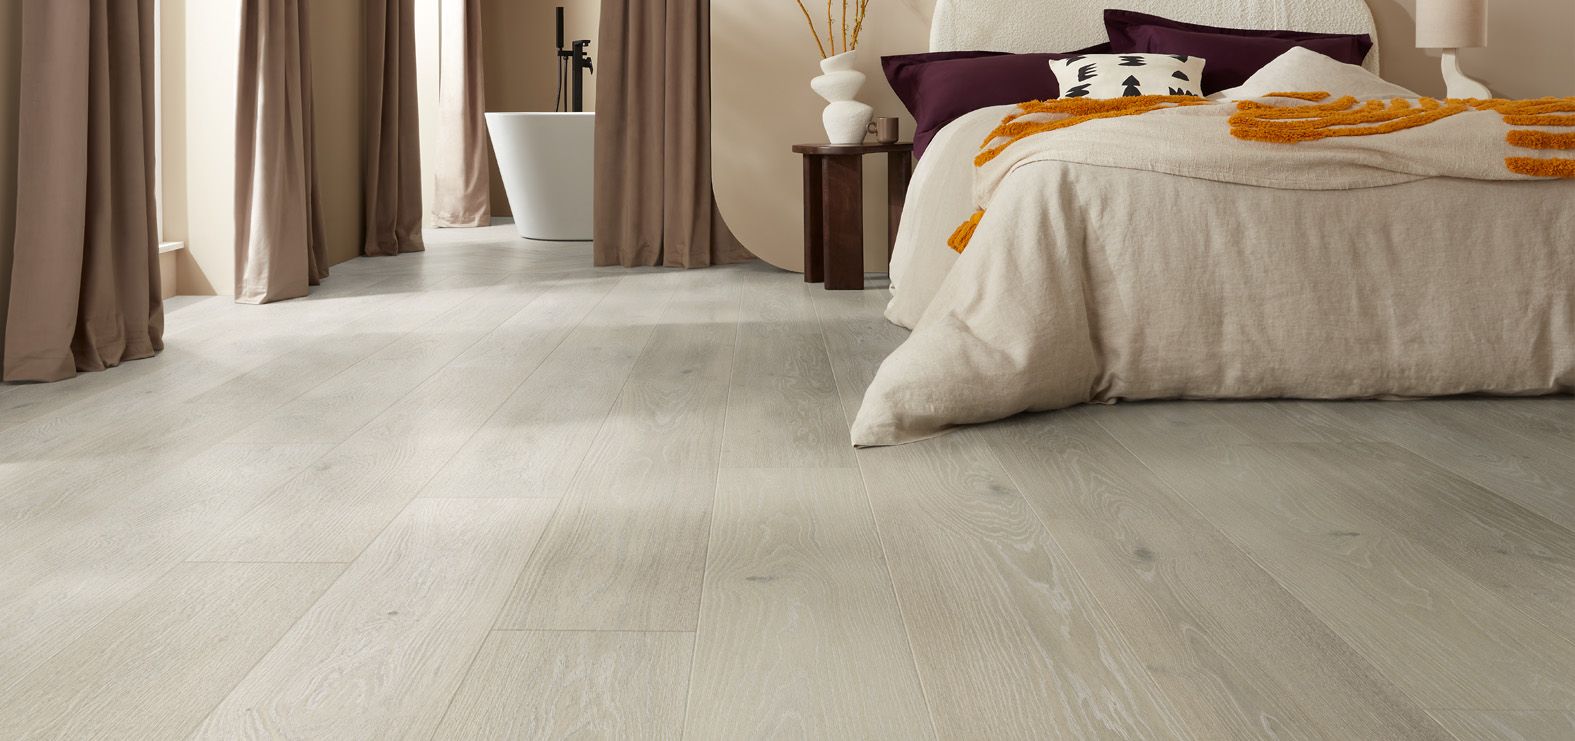
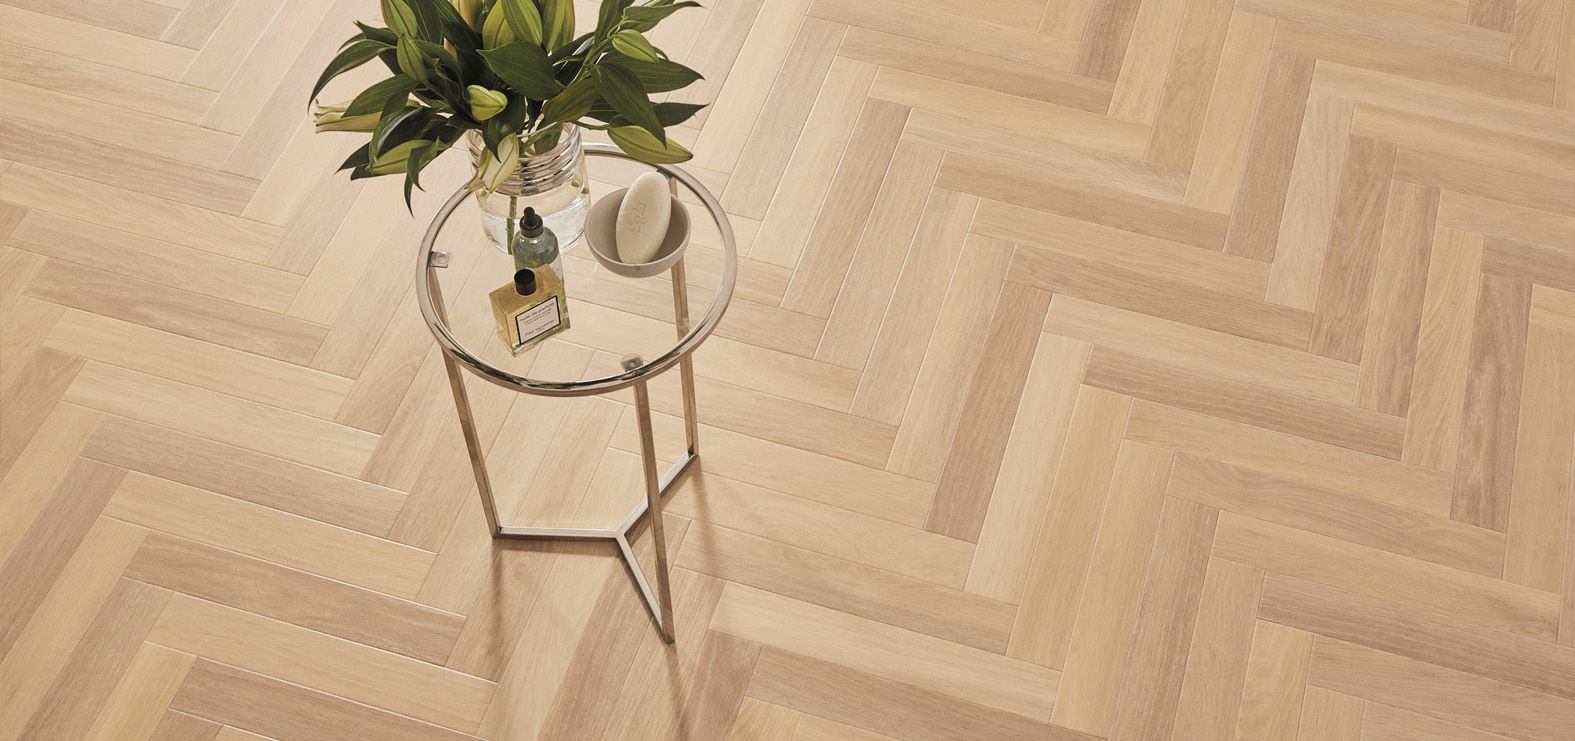
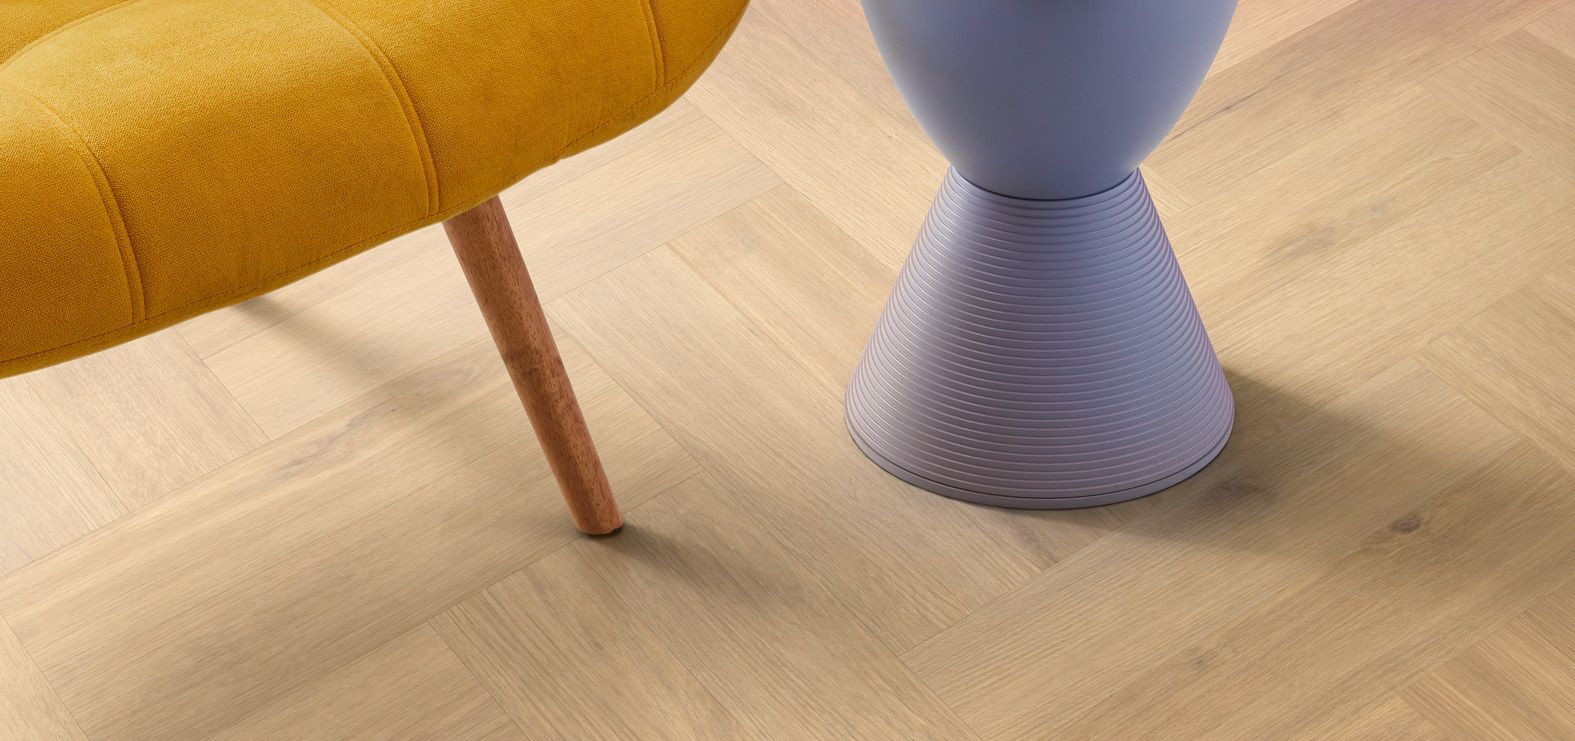
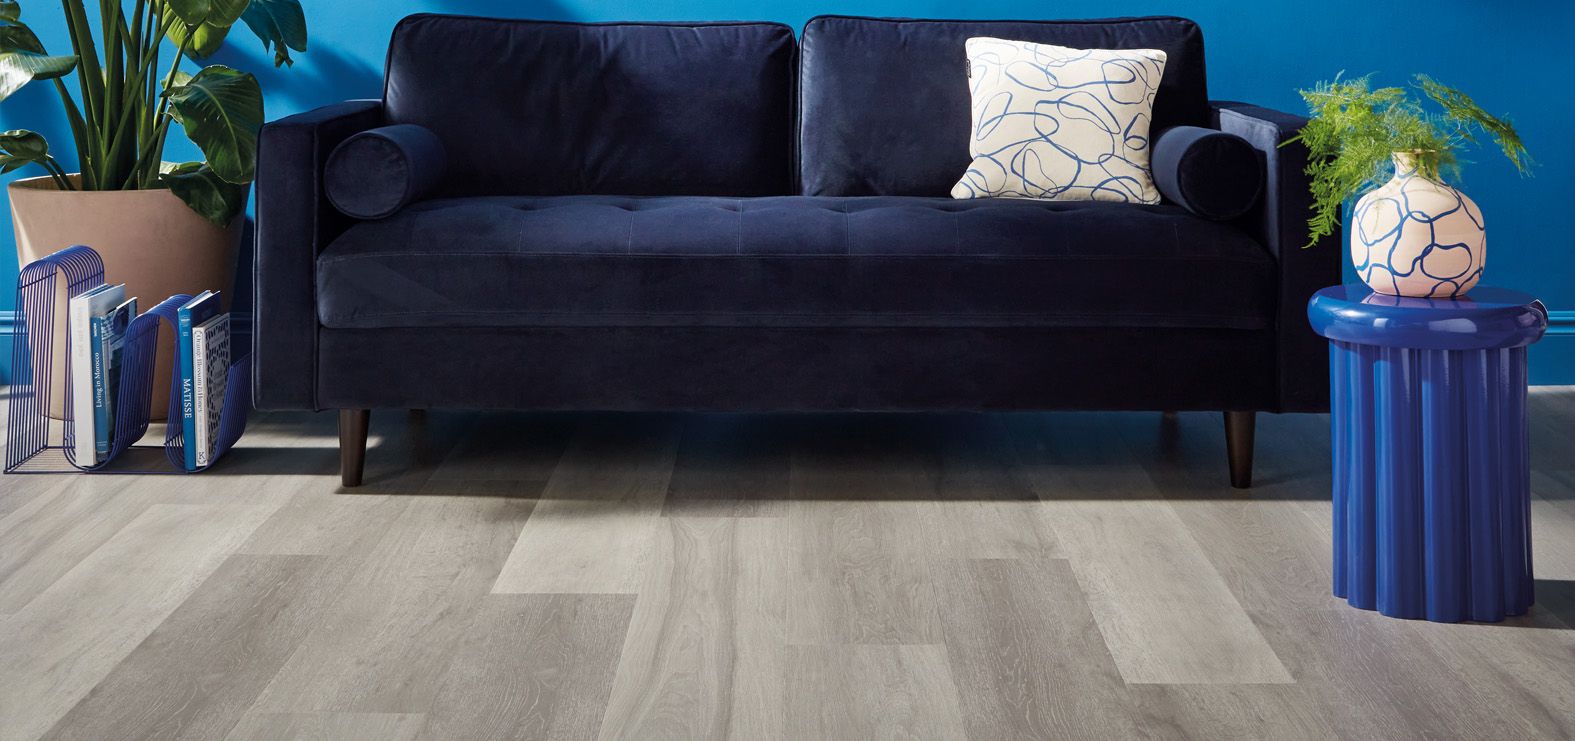
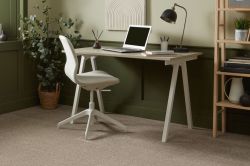
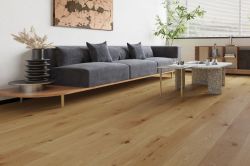
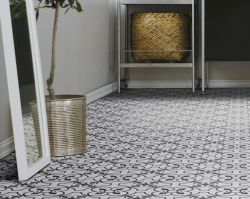
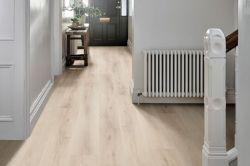
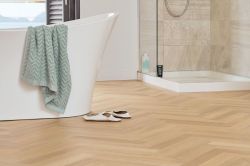
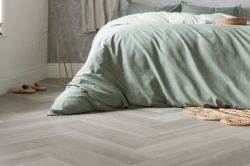
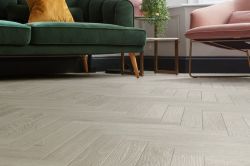
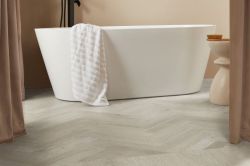
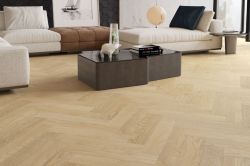
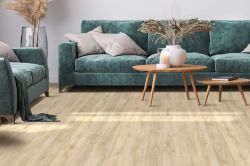
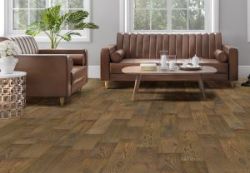
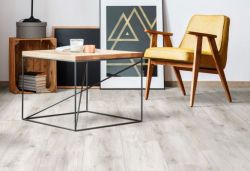
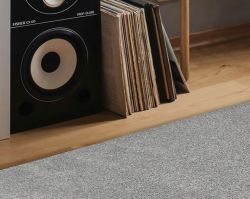
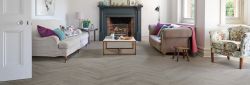
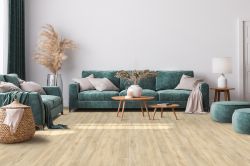
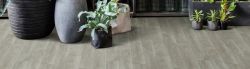
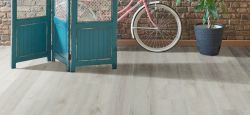
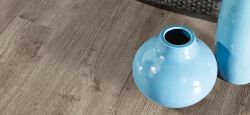
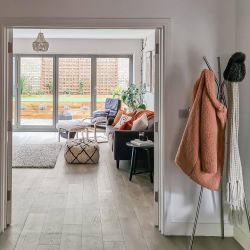
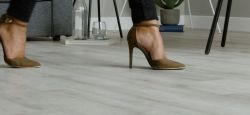
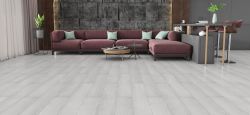
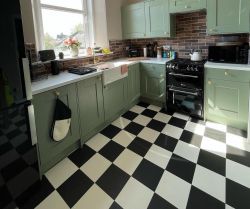
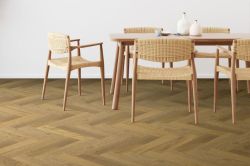
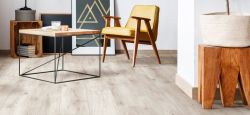
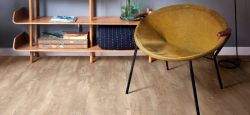
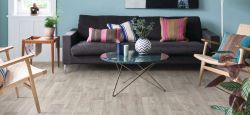
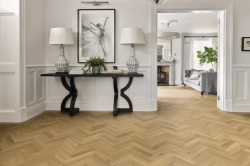
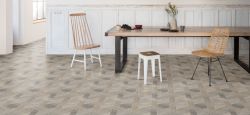
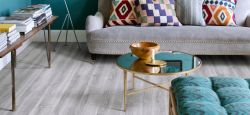
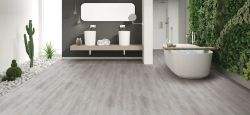
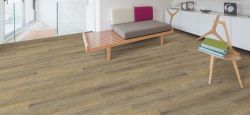
A brilliant replica of real wood and stone flooring, Karndean luxury vinyl flooring is so much more than just its good looks. Engineered with strength, durability, and water resistance, it’s a top flooring choice for every room in your home. To ensure the best performance from your Karndean flooring, we’d recommend getting it installed by a professional, but if you’re interested in fitting Karndean flooring yourself, we can take you through it step-by-step.
From the tools you need to how to prepare your flooring, we’ll explain the process for laying Karndean flooring and highlight the things you need to be aware of when installing luxury vinyl flooring.
In this guide:
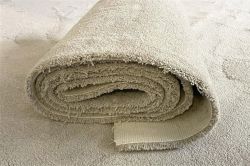
A common question we get asked is whether you need underlay for Karndean luxury vinyl (LVT) flooring. If you’ve read our luxury vinyl guide, you’ll know there are two types of luxury vinyl: glue down (also called dry back or stick down), and click fit, which is sometimes referred to as click and lock and is what Karndean call ‘rigid core’. Underlay is not required for either Karndean flooring type.
If you’re unsure which type of luxury vinyl is best for your home, pop in-store to speak to a Tapi floorologist.
A good subfloor is key to ensuring the perfect fit for your Karndean flooring, so you need to check all four of these things before new flooring can be laid:
Your subfloor should be completely free from moisture, so if you’ve just had concrete or screed laid, or you’re replacing your flooring due to a water leak, you need to leave it to dry out. A moisture tester can check the moisture levels – Karndean flooring requires a subfloor moisture level below 75% RH for glue down and less than 95% RH for rigid core. As a rule of thumb, it takes a minimum of one day’s drying time per millimetre of subfloor thickness.
A good subfloor should be even and flat, otherwise any imperfections will affect the performance and appearance of your new luxury vinyl flooring. Karndean flooring has a maximum 5mm below the level unevenness tolerance for 3m in any direction. Any high ridges should be removed or smoothed out using a self-levelling compound then left to dry before installation.
Subfloors provide support and stability for the flooring above so there can’t be any movement or gaps. Wooden subfloors need to be nailed down securely, or plywood can be placed over the top of concrete subfloors (providing there’s a moisture barrier in place).
Any loose debris, old adhesive, or dust on the subfloor’s surface needs to be removed prior to fitting. Scrape off old glue or underlay, then give the subfloor a sweep followed by a vacuum to ensure it’s completely clean.
There are a few things you need to do to prepare your Karndean flooring for fitting:
Karndean flooring should be removed from its packaging at least 24 hours for glue down and 48 hours for rigid core before fitting and placed in the room where it’s going to be installed. This is so it can adjust to the temperature of the space, which ideally is always between 18 and 27 degrees. Luxury vinyl tiles or planks can be stacked but must be laid flat and kept out of direct sunlight.
The design and shading will vary from box to box, so it’s a good idea to open all the boxes and mix up the tiles or planks to give a more even distribution of colour and design across the floor.
Which way do you want your flooring to go? Are there any obstacles like a kitchen island or an alcove you need to work around? It’s important to plan your layout before fitting to minimise the number of cuts you need to make and also to make the room look balanced.
Follow our step-by-step guide to learn how to fit Karndean flooring. You’ll find a list of tools you’ll need, as well as specific instructions for fitting glue down and rigid core Karndean flooring.
Tools you will need:
Tools you will need:
Tapi Top Tip - The expansion gap width can vary depending on the room type:
After your new flooring is installed, it’s important you read up on how to clean Karndean flooring for expert advice on keeping your luxury vinyl flooring looking its best.
If you’re going to be laying Karndean flooring on concrete, you need to make sure it’s dry, clean, level, and free of debris. Sanding down concrete with an electric power tool can remove any old adhesive and get rid of any lumps and bumps for a smooth finish, or for very wonky floors, prep the concrete subfloor with a smoothing compound. Apply a liquid damp proof membrane to prevent moisture coming through and prime if necessary.
There are a few different types of concrete and screed, so if you’re unsure what’s best to do, always talk to a professional flooring fitter.
After nailing down any loose boards and replacing any broken ones, it’s recommended to install a 6mm flooring grade plywood on top of the wooden floorboards before installing Karndean flooring. Plywood joints should be smoothed over with a skim coat or a primer and levelling compound.
By now, we hope you have a good grasp of how to lay Karndean flooring. If you’re a DIY expert, then you’re probably ready to give fitting luxury vinyl flooring a go. This is just a quick guide to installing Karndean flooring – for more detailed installation guides with pictures, head to their website. Or if you’re installing luxury vinyl flooring from Tapi, read our LVT fitting guide before you begin.
We know that the perfect floor begins and ends with the perfect fit, so we’d strongly advise to that your Karndean flooring is fitted by a professional fitter. There are so many different types of subfloors, and each house has its own quirks, and a professional will have come across all of these and know exactly what to do.
Professional fitting is one of the extra costs you need to consider when budgeting for Karndean flooring, but it’s worth it for a flawless finish. At Tapi, we can arrange for your flooring to be fitted as well as the uplift and removal of your old flooring. Just pop in-store to chat to a floorologist or book a home visit and we’ll measure up and check the condition of your subfloors at the same time.

Published: 14-08-2025

 copy-250.jpg)
-250.jpg)

 - Article Image (not header)-250.jpg)

-250.jpg)


-250.jpg)

-250.jpg)
-250.jpg)
 (2)-250.jpg)
 (2)-250.jpg)

-250.jpg)
-250.jpg)
-250.jpg)
-250.jpg)

-250.jpg)
-250.jpg)

-250.jpg)
-250.jpg)
-250.jpg)
-250.jpg)
-250.jpg)
-250.jpg)

-250.jpg)


 (1)-250.jpg)
-250.jpg)


-250.jpg)


-250.jpg)
-250.jpg)
Hold tight! We're getting your results

Did you know...
You can book a FREE home visit?