Find Samples
To add to your samples basket, simply navigate to a product you're interested in, select the colour you like and press the + icon on an empty sample slot.
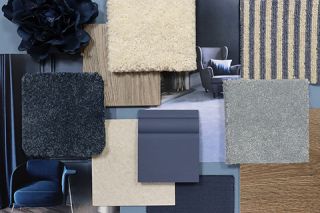
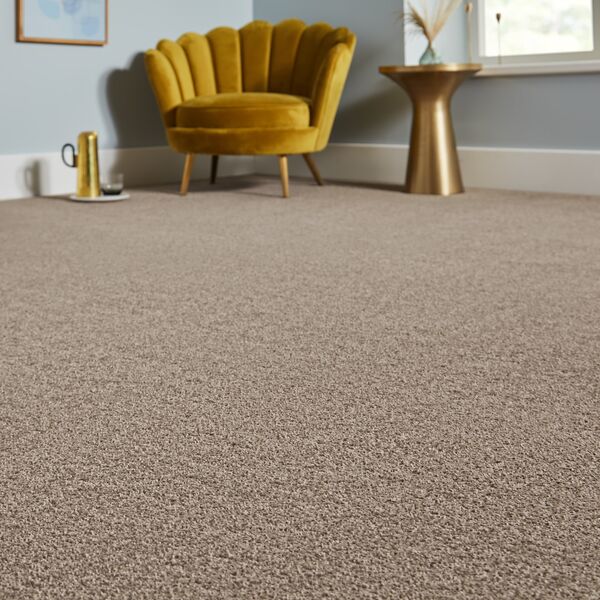
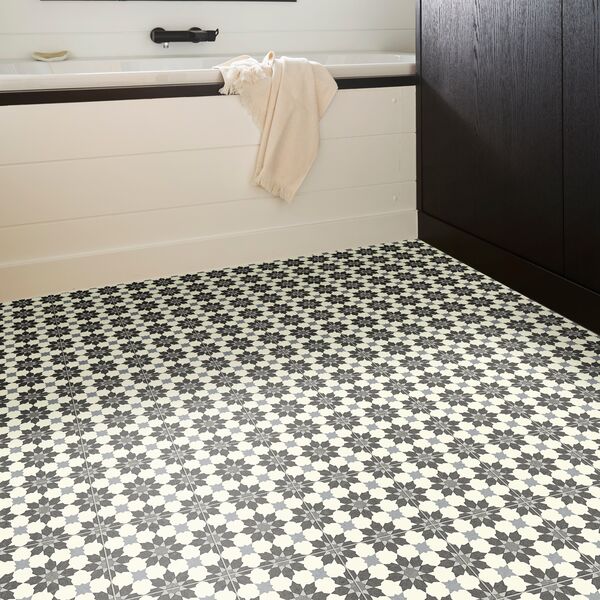
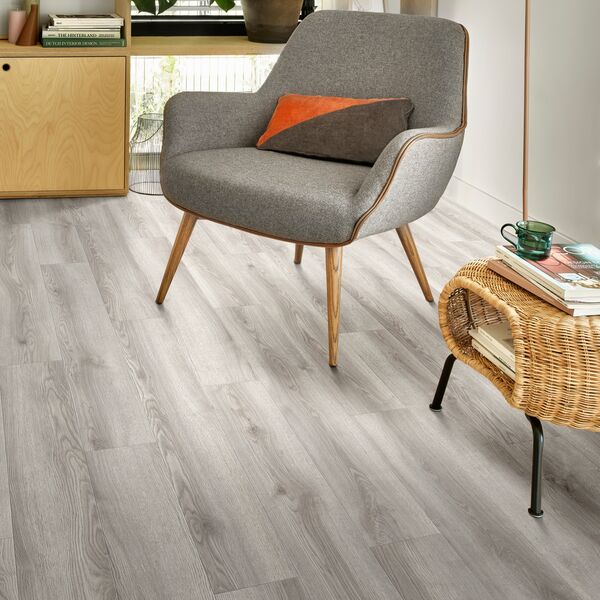
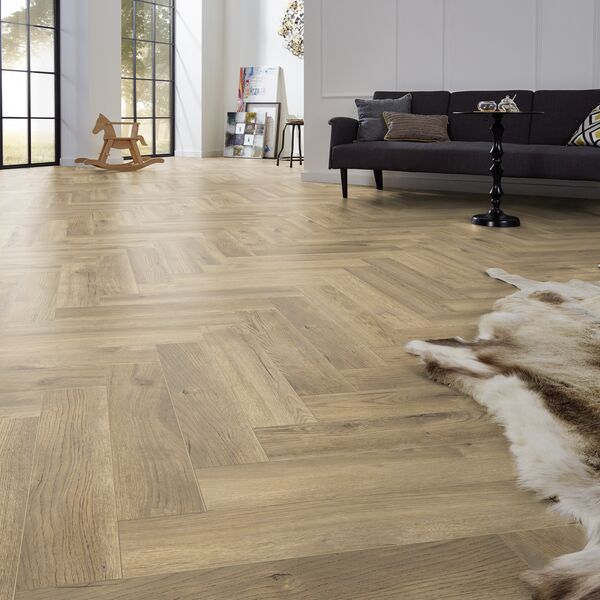
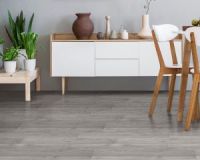
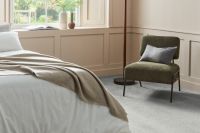
Let your imagination run wild in our Ideas Hub, where you’ll find plenty of inspiration to help you create your dream flooring. Read more


-200.jpg)
 - Article Image (not header)-200.jpg)